Using a Raspberry Pi as HDMI camera
TL;DR; Yes, you can build your own Raspberry Pi HQ camera to use as an HDMI source for the ATEM Mini
Looking for an affordable camera with HDMI output? Build one yourself with a Raspberry Pi Zero 2!
IMPORTANT: A new post is available with the new Camera Module V3 with auto-focus, released in January 2023.
The video above was recorded by using two of these cameras connected to an ATEM Mini Pro, in combination with two Raspberry Pi’s to demonstrate some applications, including picture-in-picture to show the Raspberry Pi screen simultaneously with the camera to show what is happening.
Some history… from child-programmer to video-editor back to programming
When I was 11 years old and got a Commodore 64 I started programming. Since then, technology, programming, and movie making have always been my top interests. That’s why I went to film school and started my professional career as a video editor. Business videos, CD-ROMs, DVD, internet video were all new upcoming technologies. And that’s how I turned into a full-time programmer when I needed to convert video productions into multimedia projects.
A video editing studio at that time was a very complex and expensive system containing a lot of devices and cables and required a lot of technical skills to get everything tuned. When computer-editing appeared, the whole video world turned upside down when a single computer was able to replace almost all of such a complex system.
As I’m currently experimenting a lot with Raspberry Pi’s and want to demonstrate this in presentations and videos, I was looking for an ideal solution to do screen and camera recordings. Yes, OBS (Open Broadcaster Software) is a great tool, but it wasn’t exactly what I was looking for… Going back to a hardware video solution proved to be the ideal solution for me!
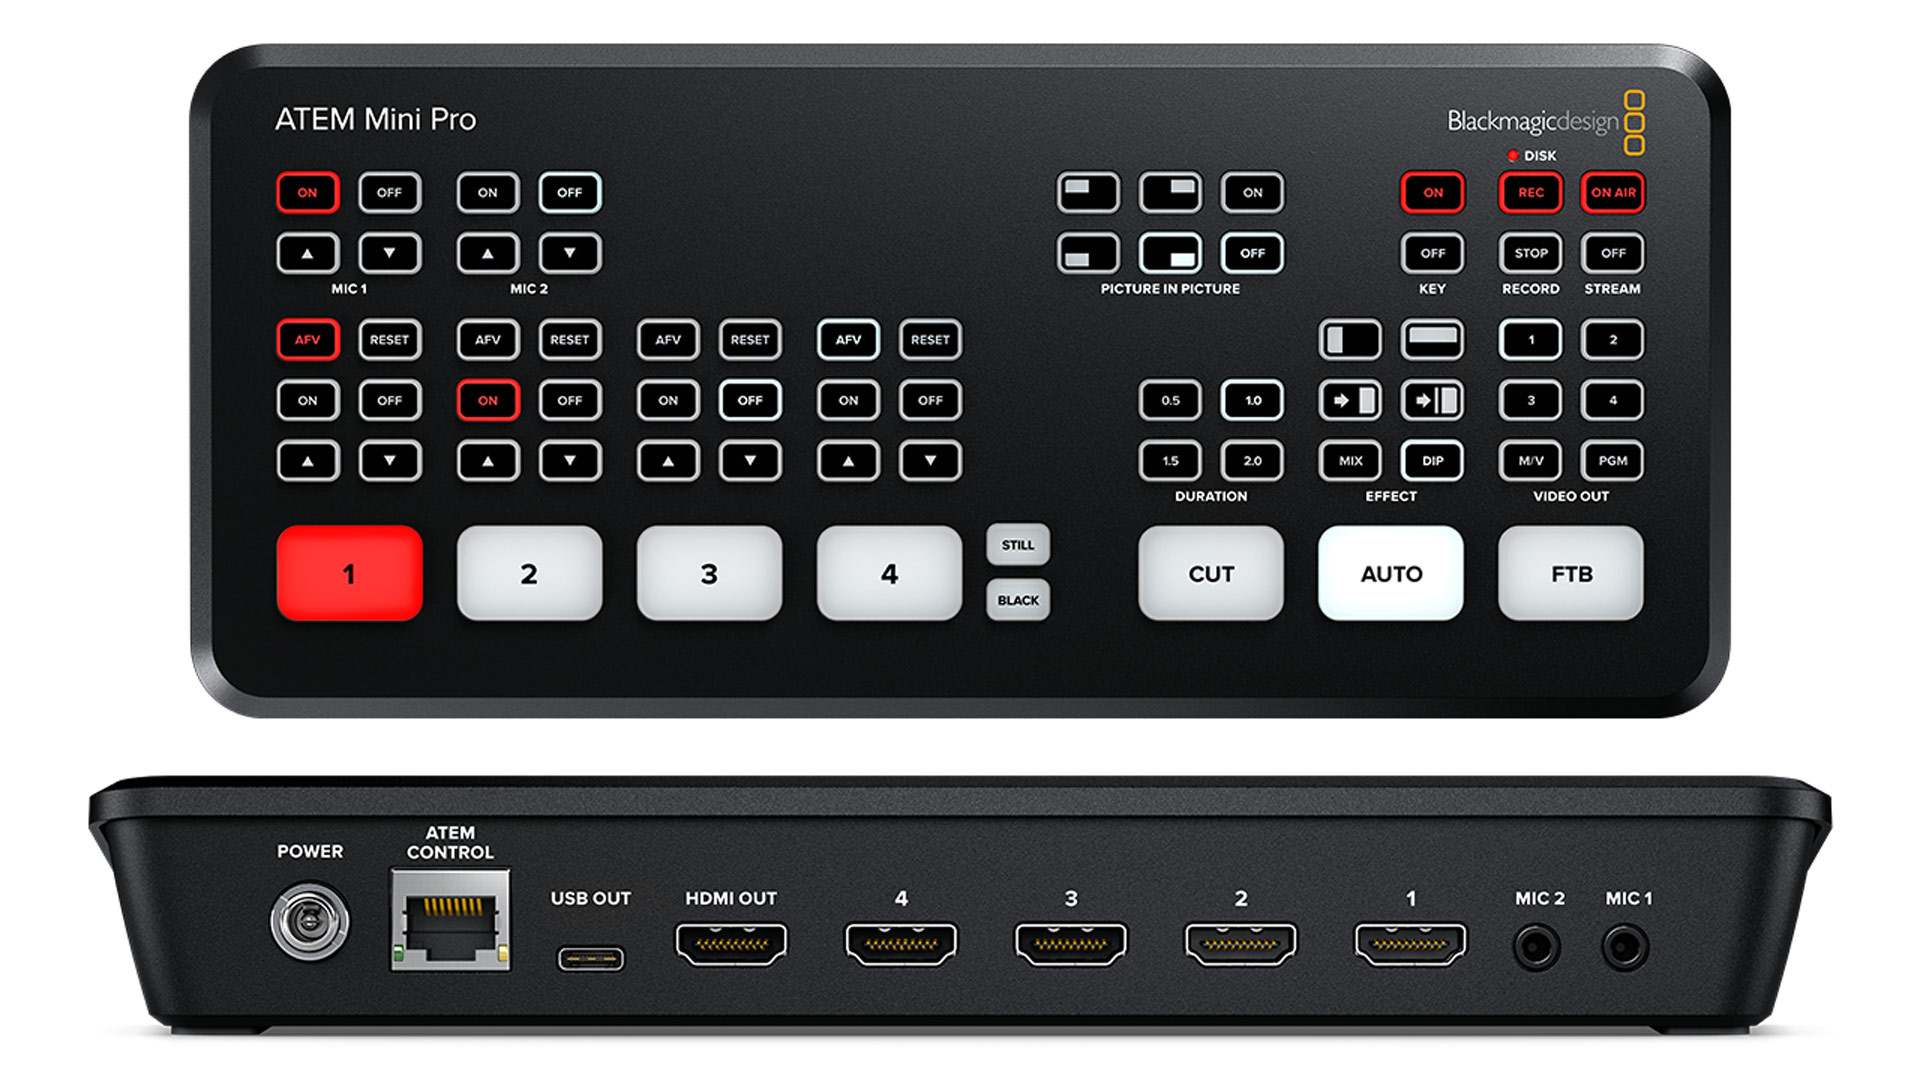
ATEM Mini Pro
The ATEM Mini by Blackmagicdesign was on my wishlist for a long time. This device has 4 HDMI- and 2 audio-inputs and you can record to either an USB-C drive, or directly use it as an external USB-webcam for your computer for e.g. video calls.
I was hesitant to buy one because of the price (530€ at Crosspoint). But I now have this box on my desk for a month and WOW, this is some unbelievable magic in a small box. The user-experience of the box itself, and the controller-software-on-computer is really amazing. As an ex-video-editor-from-20-years-ago, this brings back a lot of memories and really feels like having a professional broadcast mixer at home!
Most of the time I use it as an over-expensive video-switch to show one of my many Raspberry Pi’s on one monitor. But I wanted to extend my setup with a few cameras to be able to show for instance a test-setup during a video recording or live meeting.
Selecting an HDMI camera
As the ATEM Mini has four HDMI inputs, all your sources need a HDMI output… For the desktop screen of a Raspberry Pi that’s not a problem (as long as you have the correct type of cable with a mini or micro-HDMI to full HDMI). For a camera, it’s a bit harder, but you have a few options, all of them rather expensive.
DSLR camera
Most DSLR cameras have an HDMI-output but you have to be carefull which one you select, as not all of them provide a “clean output”, meaning none of the viewer info is on this output. Before you buy a camera for this purpose, make sure to search if it provides this clean output.
Camcorder or GoPro
Same problem as the DSLR camera: make sure there is an HDMI output which is clean.
Webcam
Sorry, I didn’t find one with HDMI output…
HDMI camera
There are a few options here.
One brand that turns up in all “HDMI camera” searches, is MOKOSE, for instance the “12MP HDMI Camera”, starting at 130€, but the reviews are very inconsistent.
And there are professional cameras, like the Marshall CV506 Mini Broadcast Camera which seems to be the cheapest for 450€.
The Raspberry Pi as HDMI camera
Let’s take another approach with… Raspberry Pi of course ;-)
There are a lot of tutorials to turn a Raspberry Pi with camera into an USB webcam, for instance this post by Jeff Geerling: “The Raspberry Pi makes a great USB webcam for $100”. But for this use-case, we need the camera view fullscreen on the HDMI output, preferably at startup so we don’t need to do anything, except powering the device.
Recently the Raspberry Pi OS got an upgrade and is now based on Debian Bullseye. One major change with this release: the driver that Raspberry Pi uses to access camera modules has been replaced with libcamera. More information is available on “Bullseye camera system”.
One of the new tools included is libcamera-hello. This is a simple application to start a camera preview stream and display it on the screen.
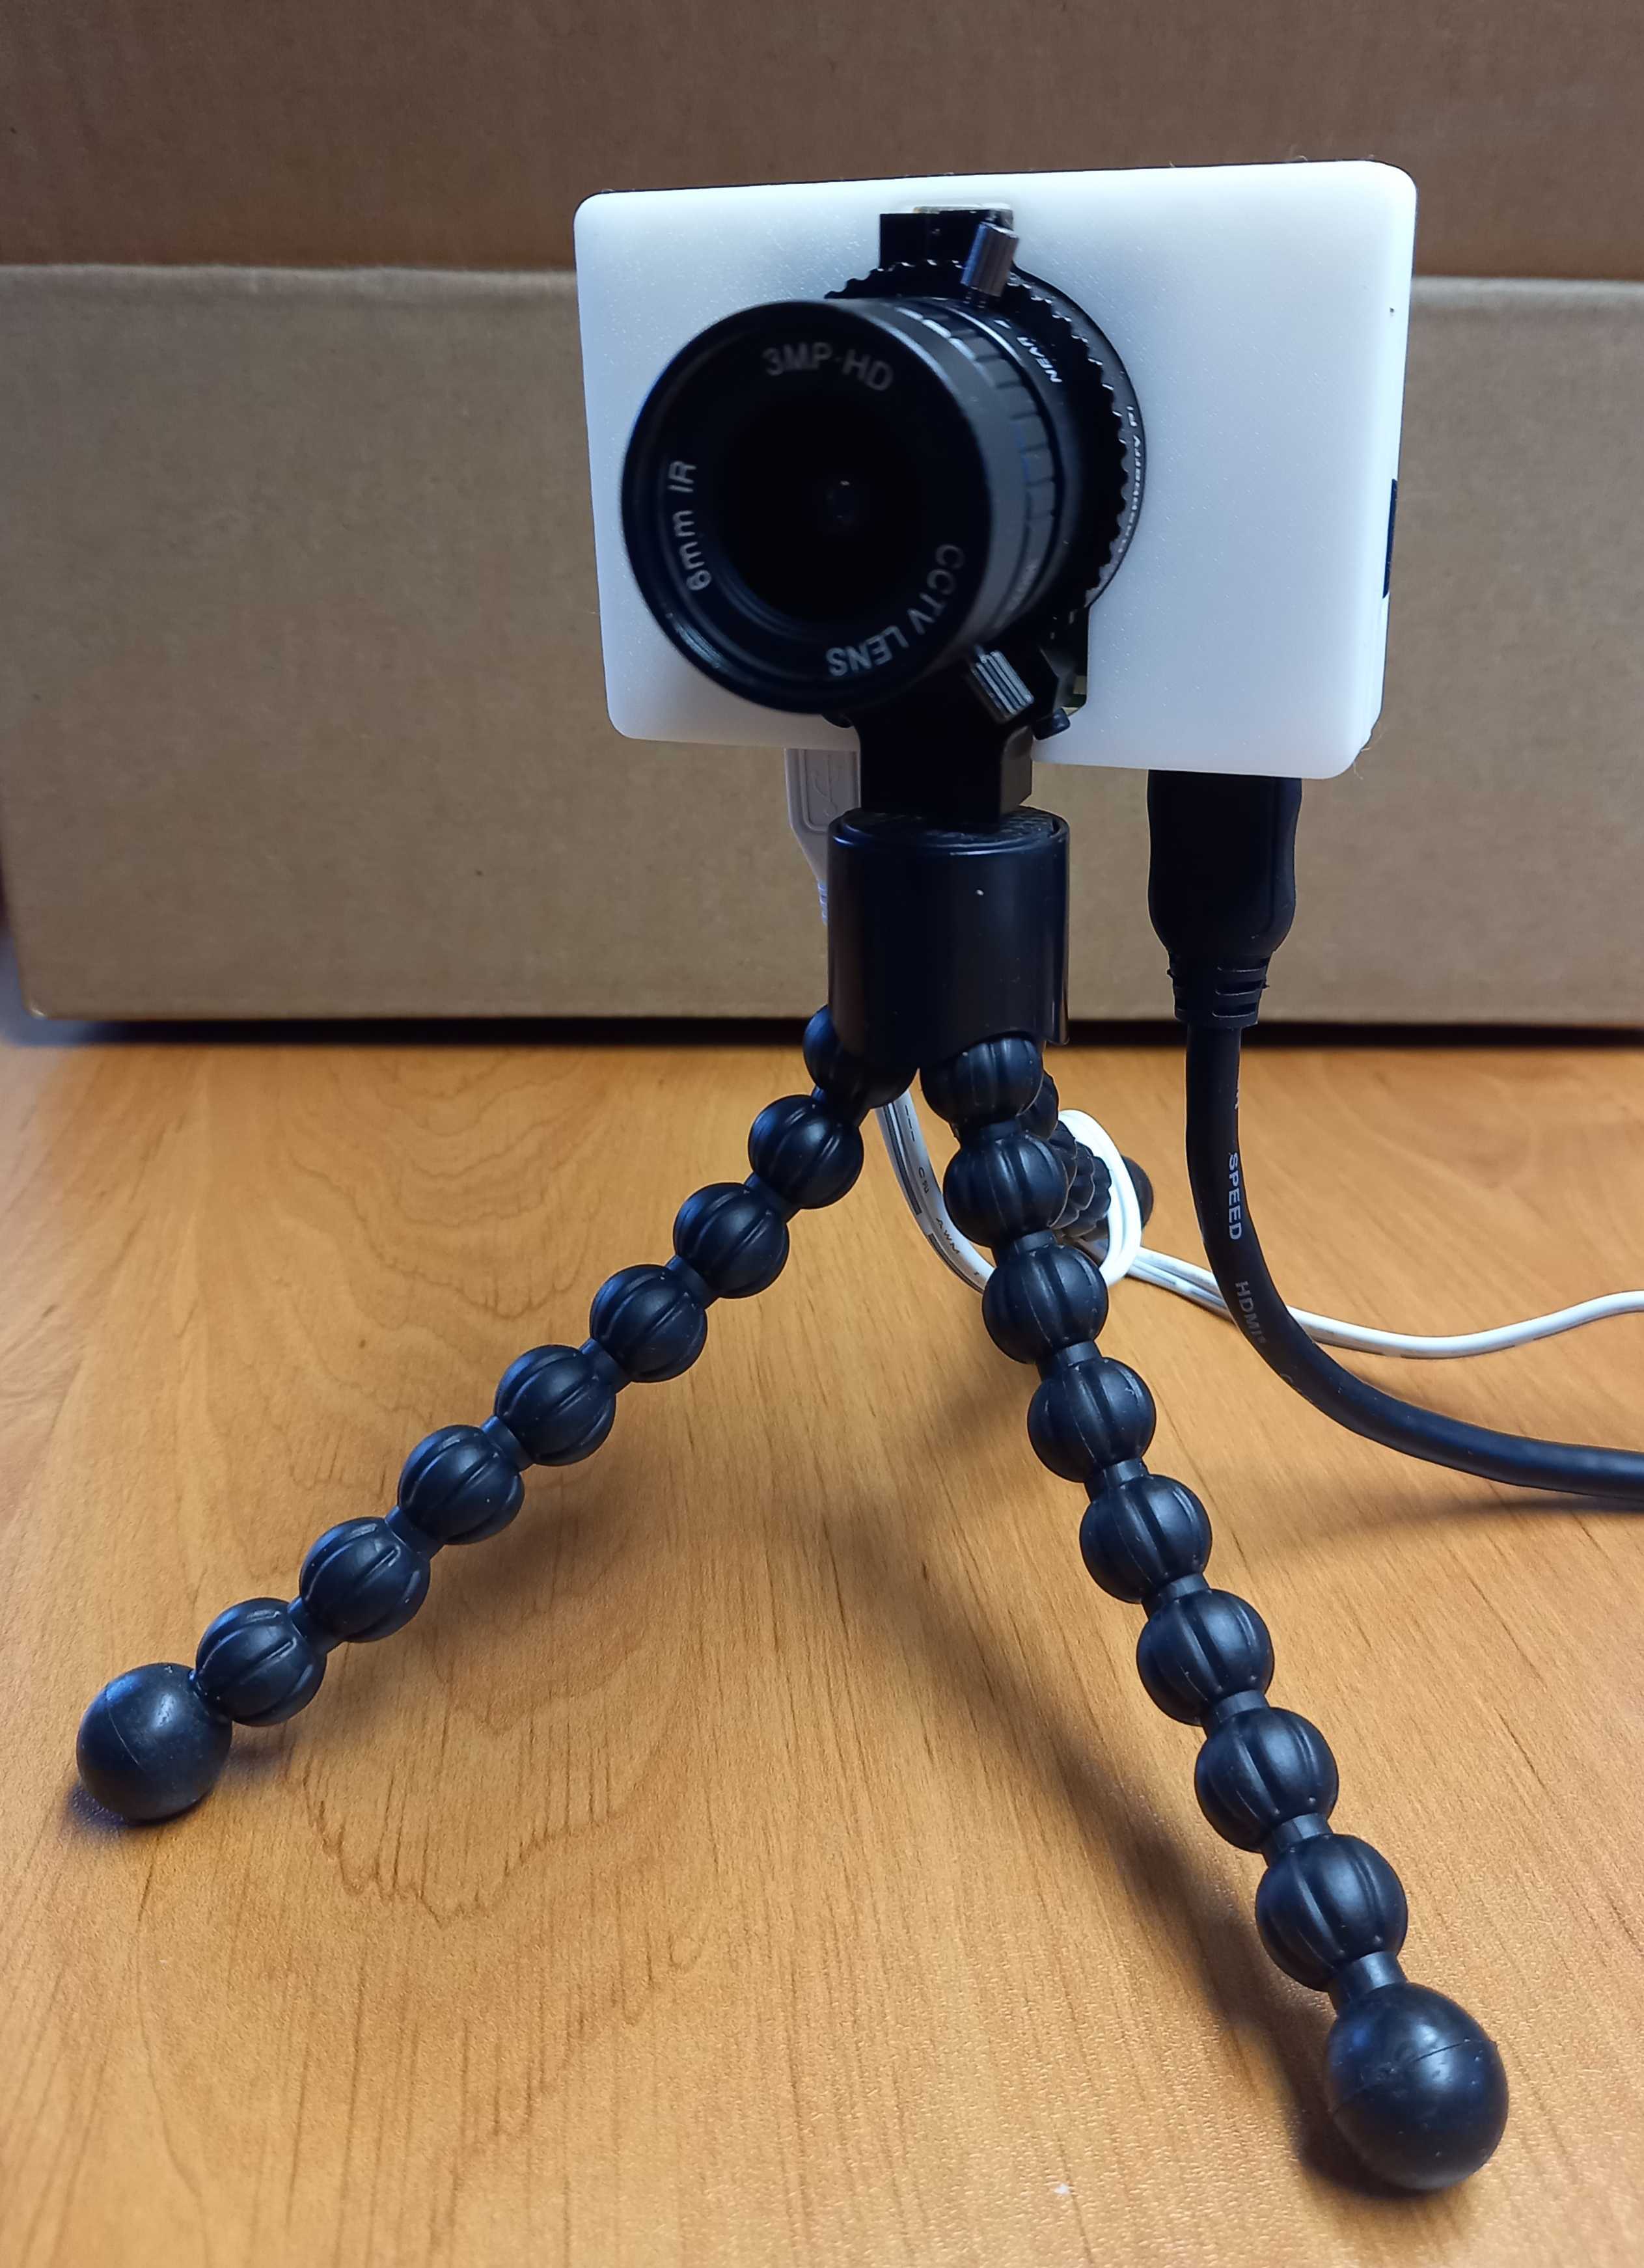
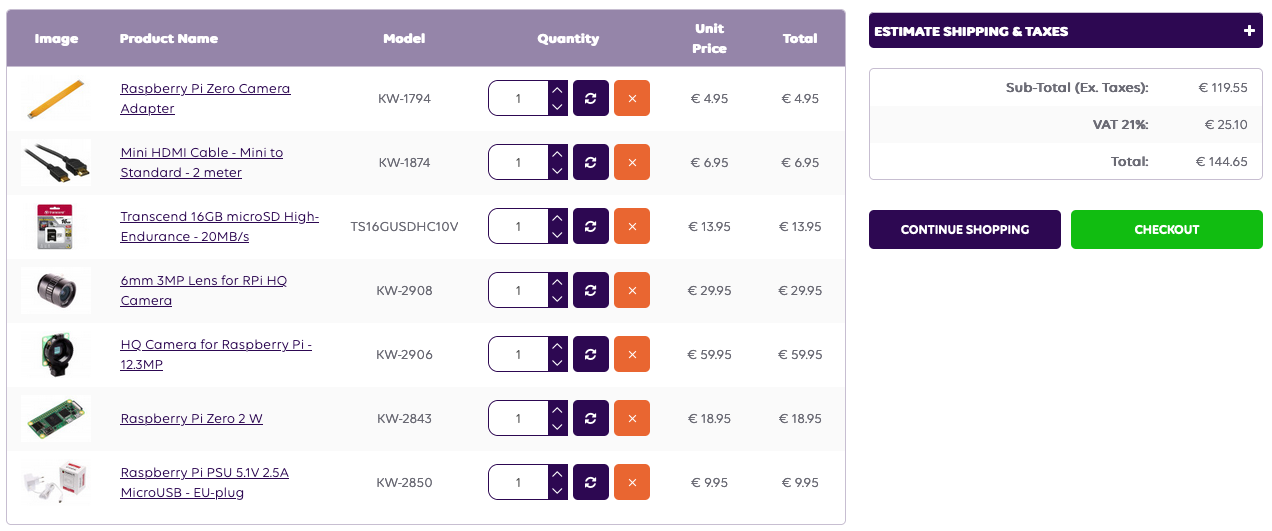
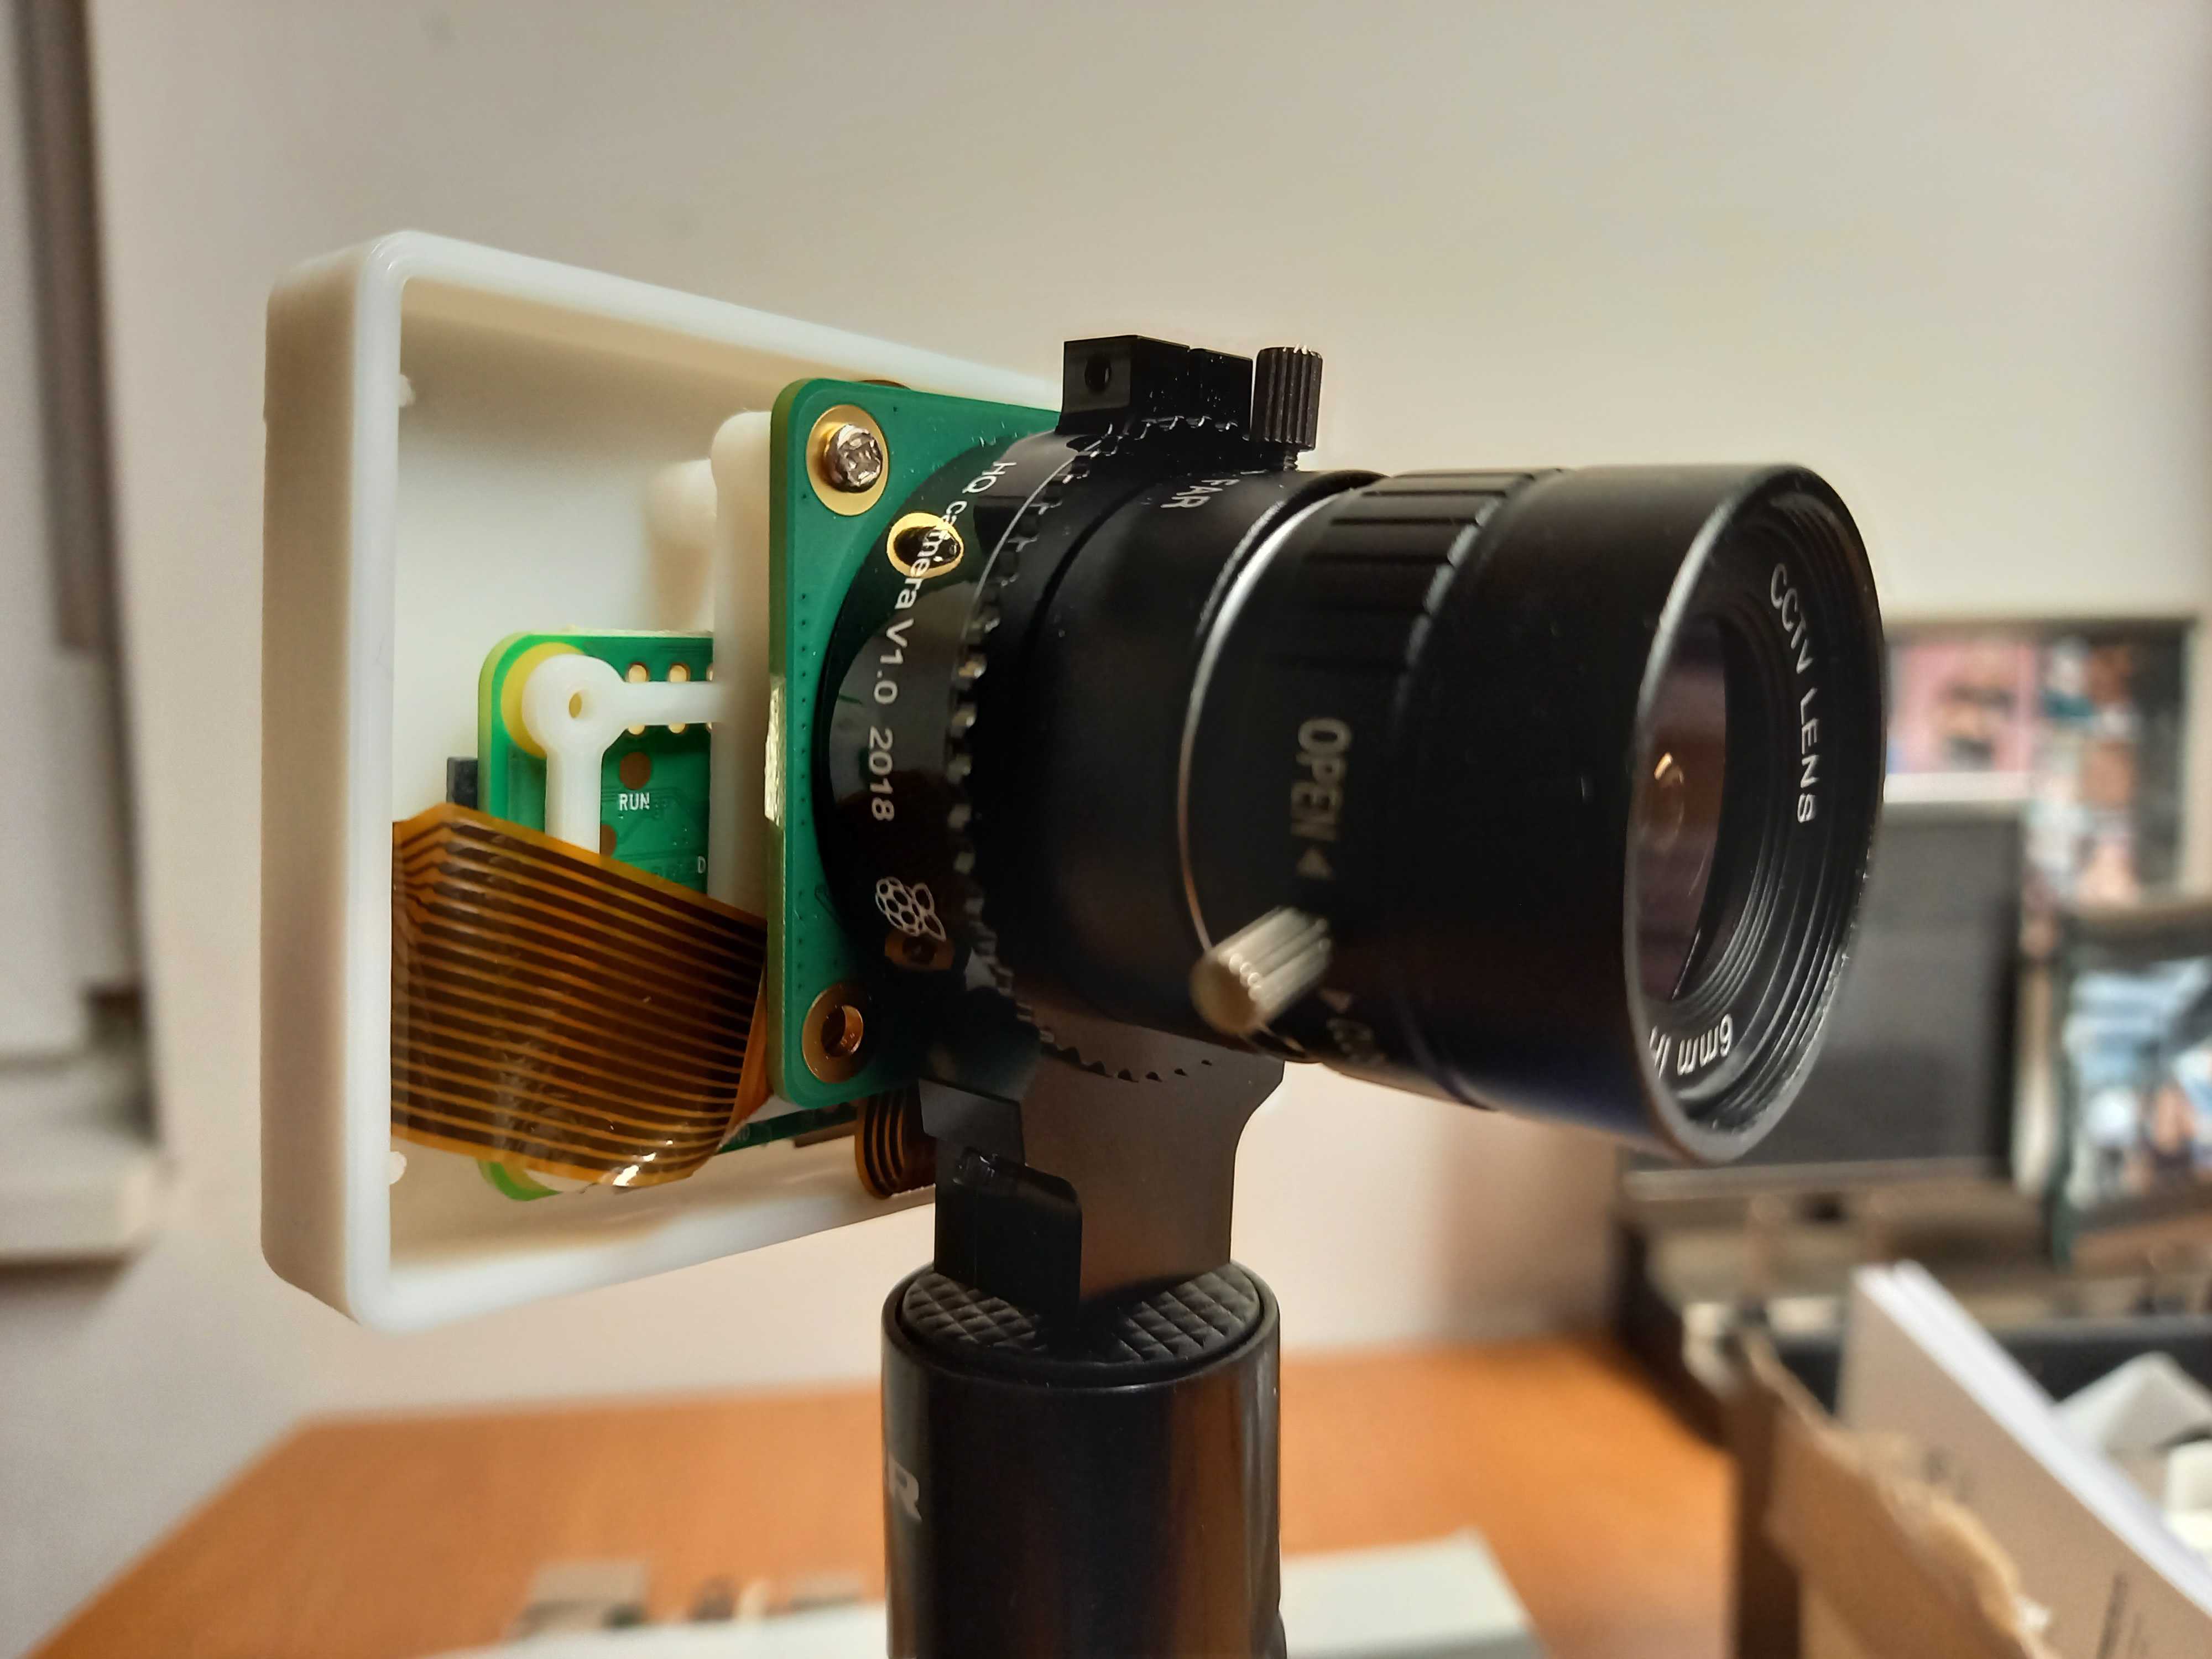
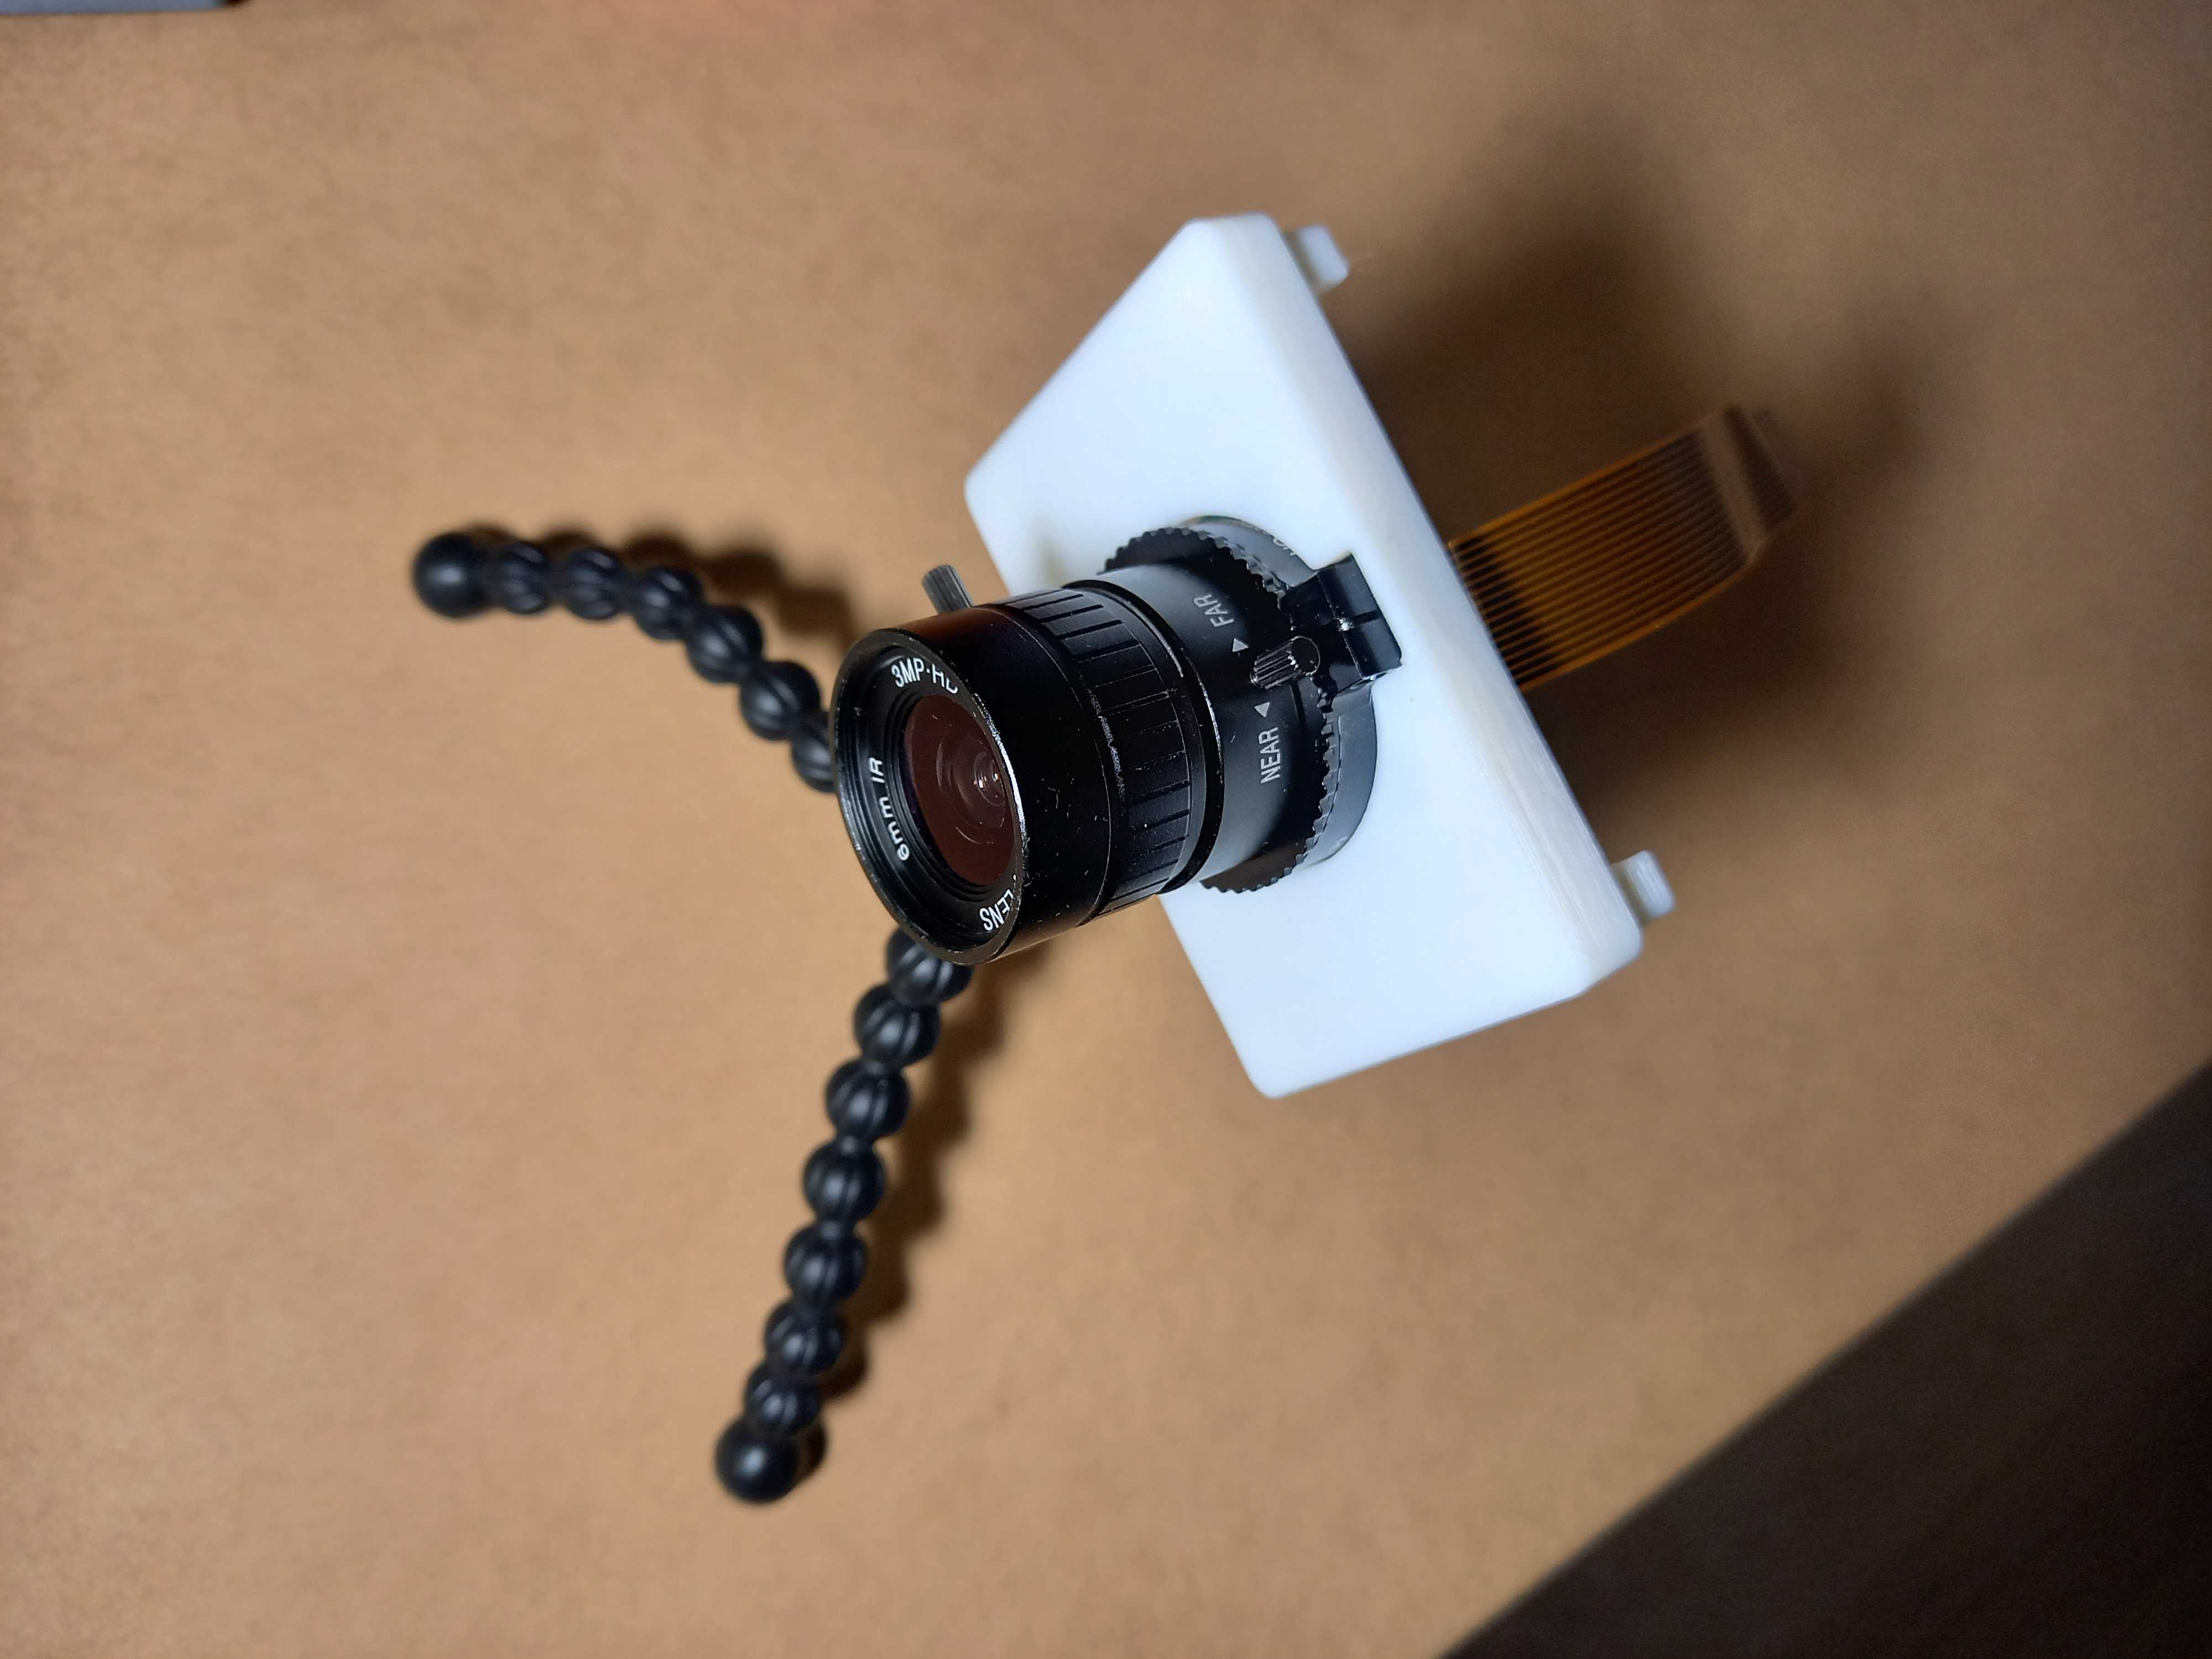
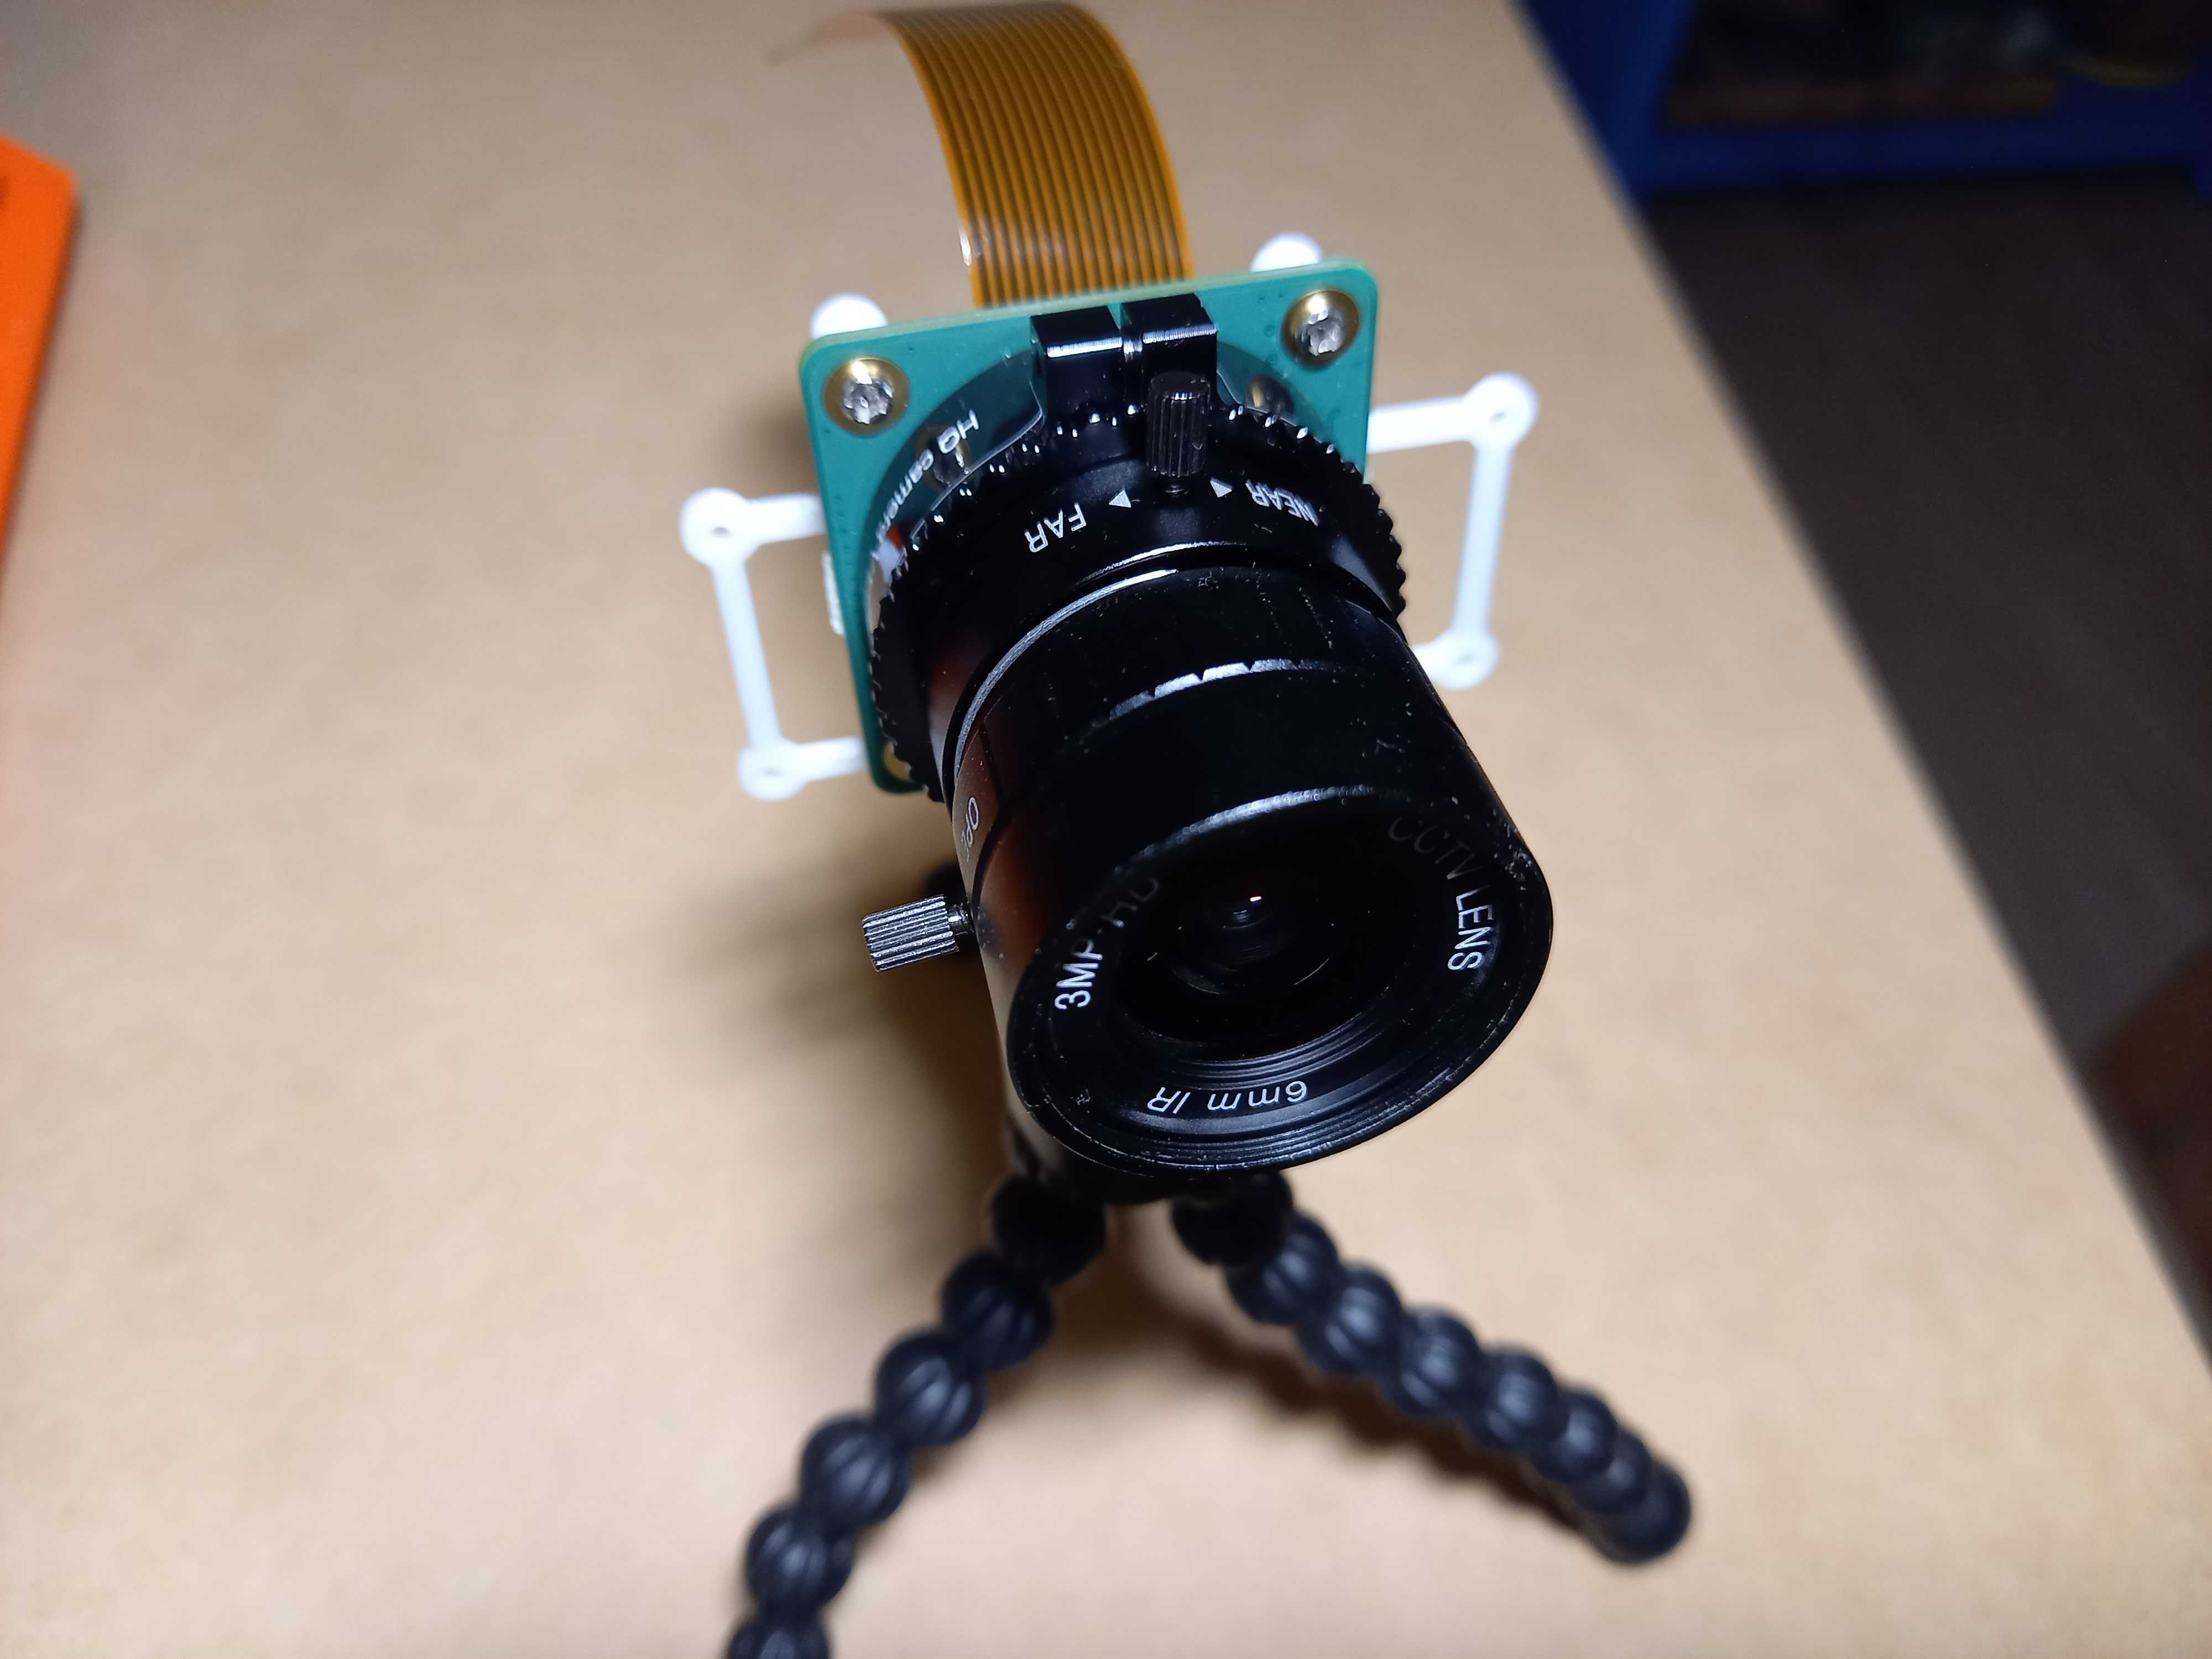
To build a camera you will need all these components to build one with a Raspberry Pi Zero 2 and a HQ camera module. There are different lenses available, the shopping list below includes the 6mm lens. As you can see the total amount is below 150€.
Burn the “Raspberry Pi OS Lite” version on an SD. Make sure to use the Lite-version, as the ones with a desktop, will cause shaky camera image with flashes as there is a conflict between the desktop and camera video. Yes indeed, I made that error myself, but luckily the team of the GitHub libcamera-apps project helped me very fast to identify my mistake. After boot I checked the version of the board and the operating system to confirm the Debian and board versions:
$ lsb_release -a
No LSB modules are available.
Distributor ID:	Raspbian
Description:	Raspbian GNU/Linux 11 (bullseye)
Release:	11
Codename:	bullseye

$ cat /proc/device-tree/model
Raspberry Pi Zero 2 Rev 1.0
BTW, also tested to work OK on Raspberry Pi 4 Model B Rev 1.4.
Now execute these commands to have all the latest versions and create a start script so the camera is started fullscreen at power up.
$ sudo apt update
$ sudo apt upgrade
$ sudo nano /etc/systemd/system/camera.start.service

[Unit]
Description=Start the camera fullscreen

[Service]
Type=simple
ExecStart=libcamera-hello --viewfinder-width 1920 --viewfinder-height 1080 -f -t 0 &

[Install]
WantedBy=multi-user.target

$ sudo chmod 644 /etc/systemd/system/camera.start.service
$ sudo systemctl enable camera.start.service
$ sudo systemctl start camera.start.service
$ sync
$ sudo reboot
After reboot, check the service, but if you see the camera on the screen, it already worked ;-)
$ sudo systemctl status camera.start.service
● camera.start.service - Start the camera fullscreen
     Loaded: loaded (/etc/systemd/system/camera.start.service; enabled; vendor preset: enabled)
     Active: active (running) since Sun 2021-12-12 19:17:07 CET; 9s ago
   Main PID: 891 (libcamera-hello)
      Tasks: 7 (limit: 409)
        CPU: 2.275s
     CGroup: /system.slice/camera.start.service
             └─891 libcamera-hello --viewfinder-width 1920 --viewfinder-height 1080 -f -t 0 &

Dec 12 19:17:08 raspberrypi libcamera-hello[891]: [0:05:40.618657773] [893]  INFO RPISTREAM rpi_stream.cpp:122 No buffers available for ISP Output0
Dec 12 19:17:08 raspberrypi libcamera-hello[891]: [0:05:41.156818620] [893]  INFO RPI raspberrypi.cpp:1636 Dropping frame at the request of the IPA (6 left)
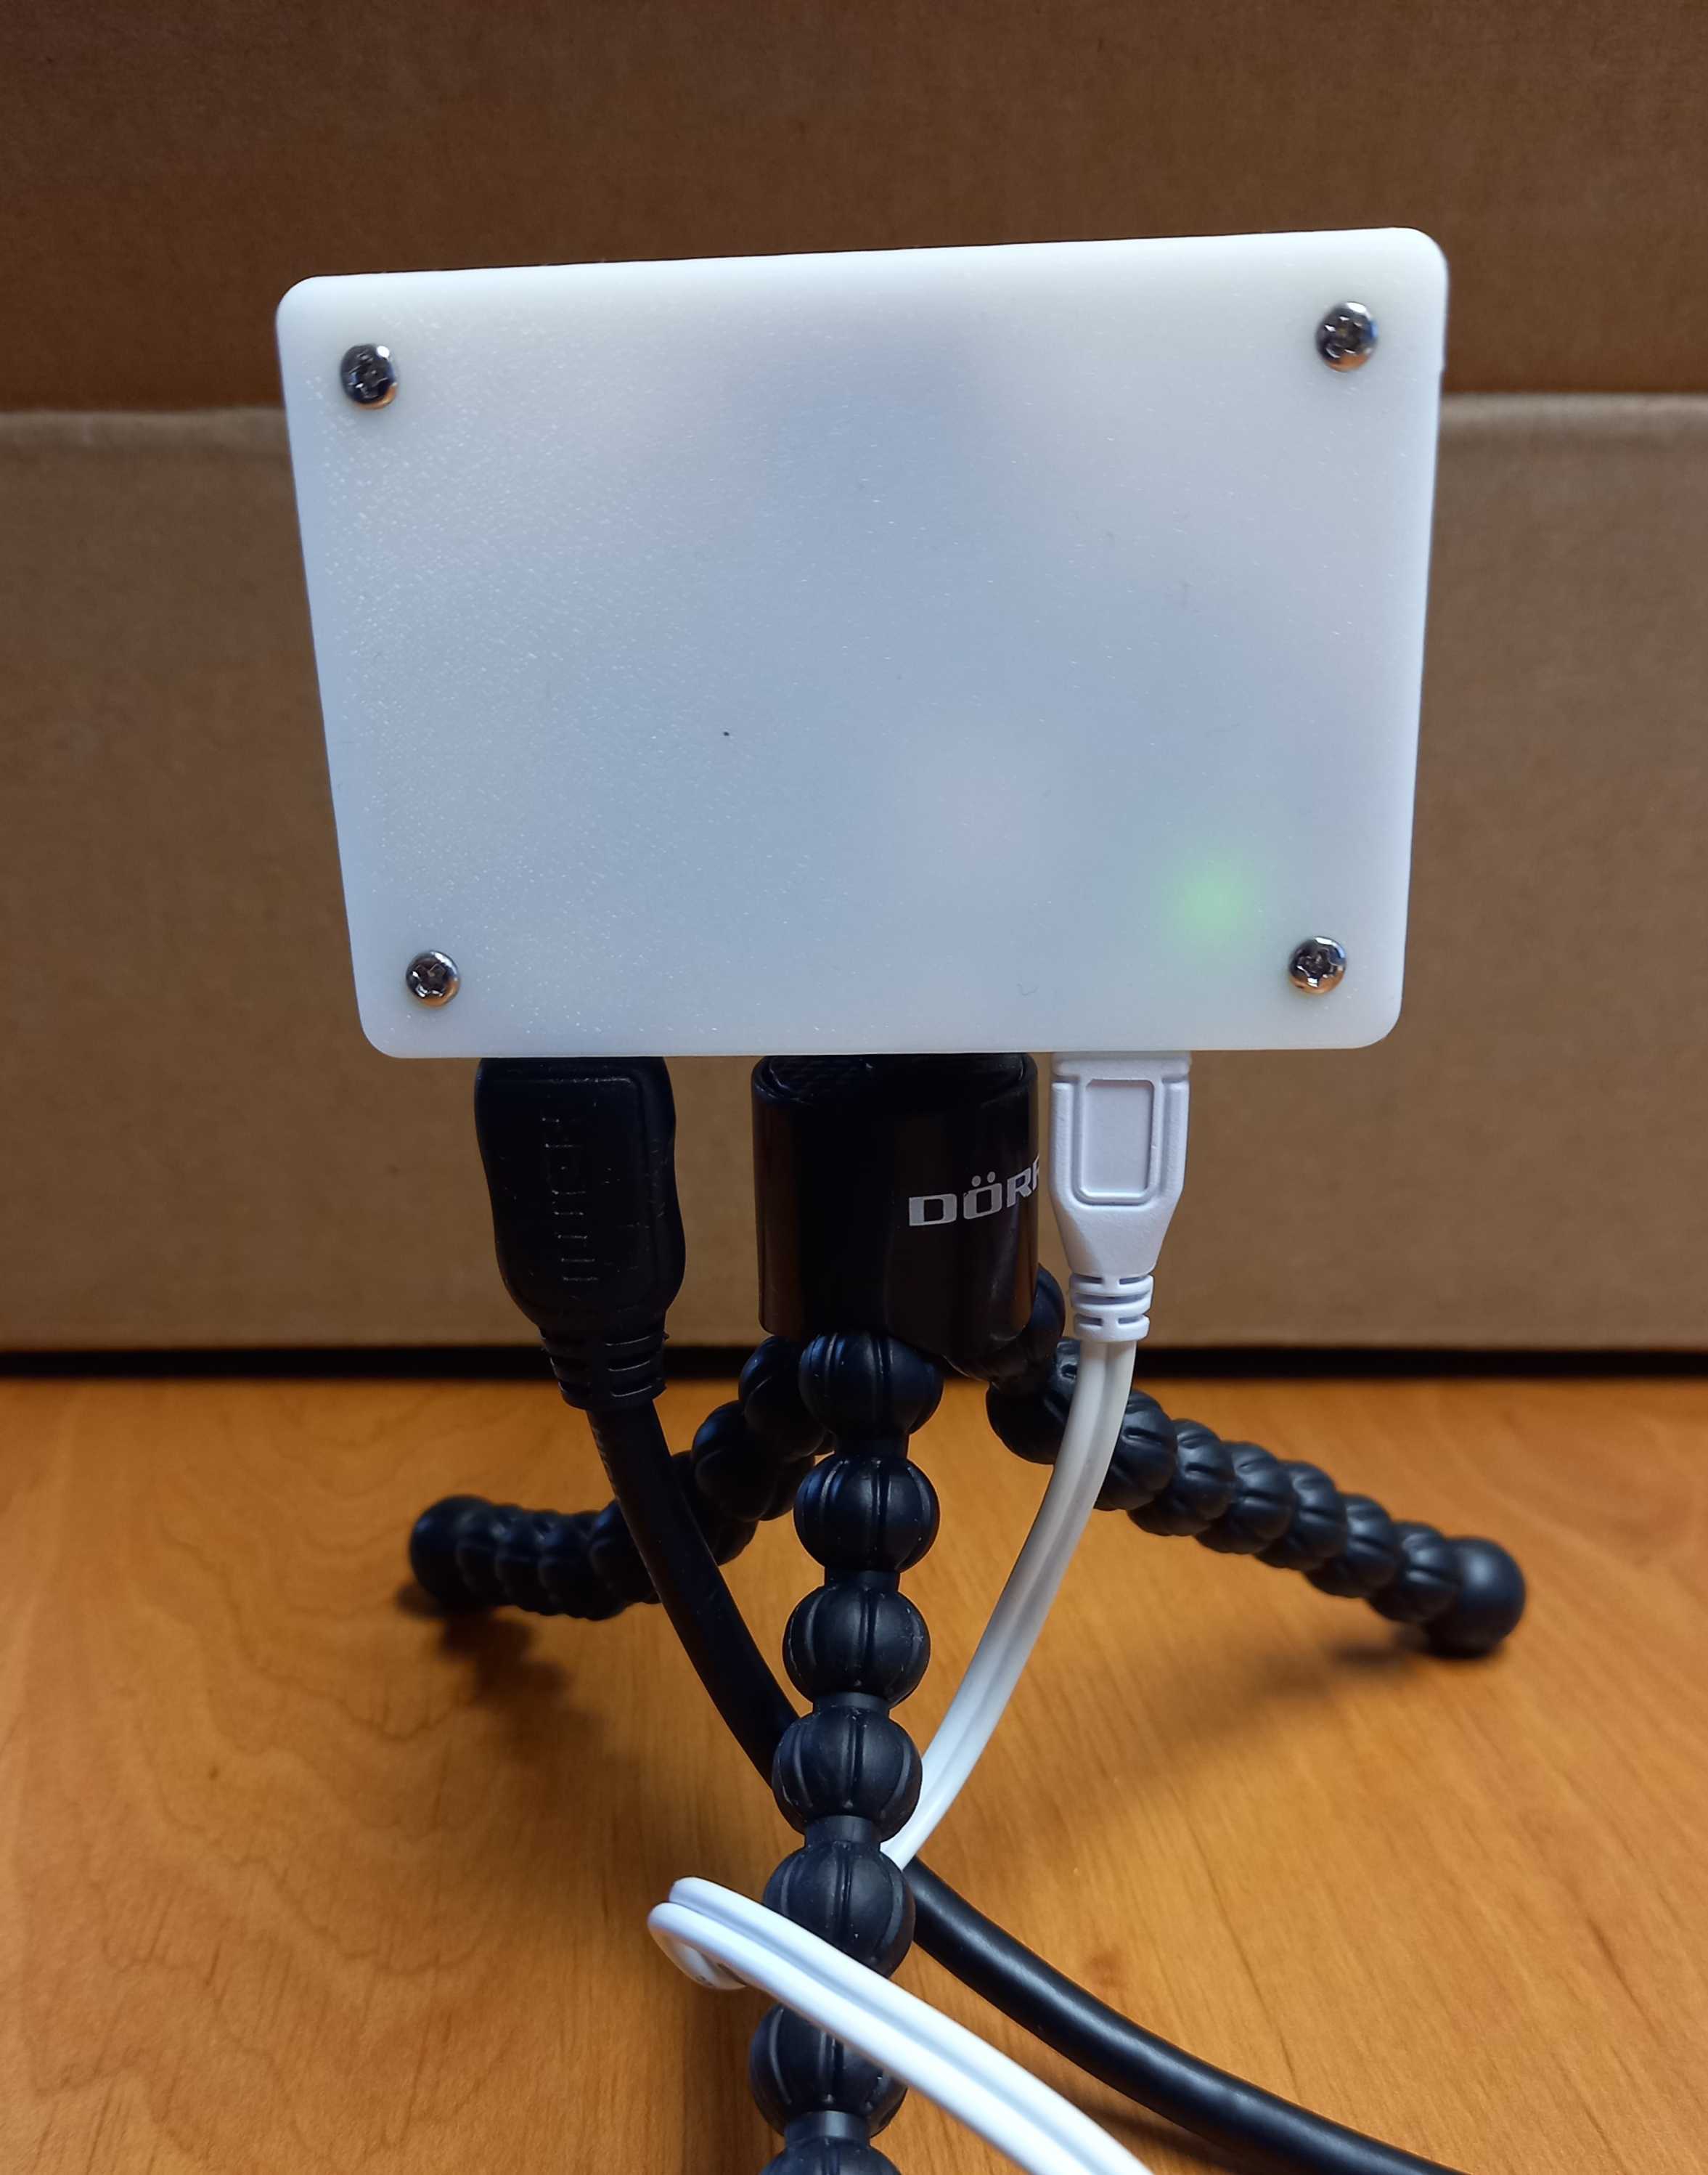
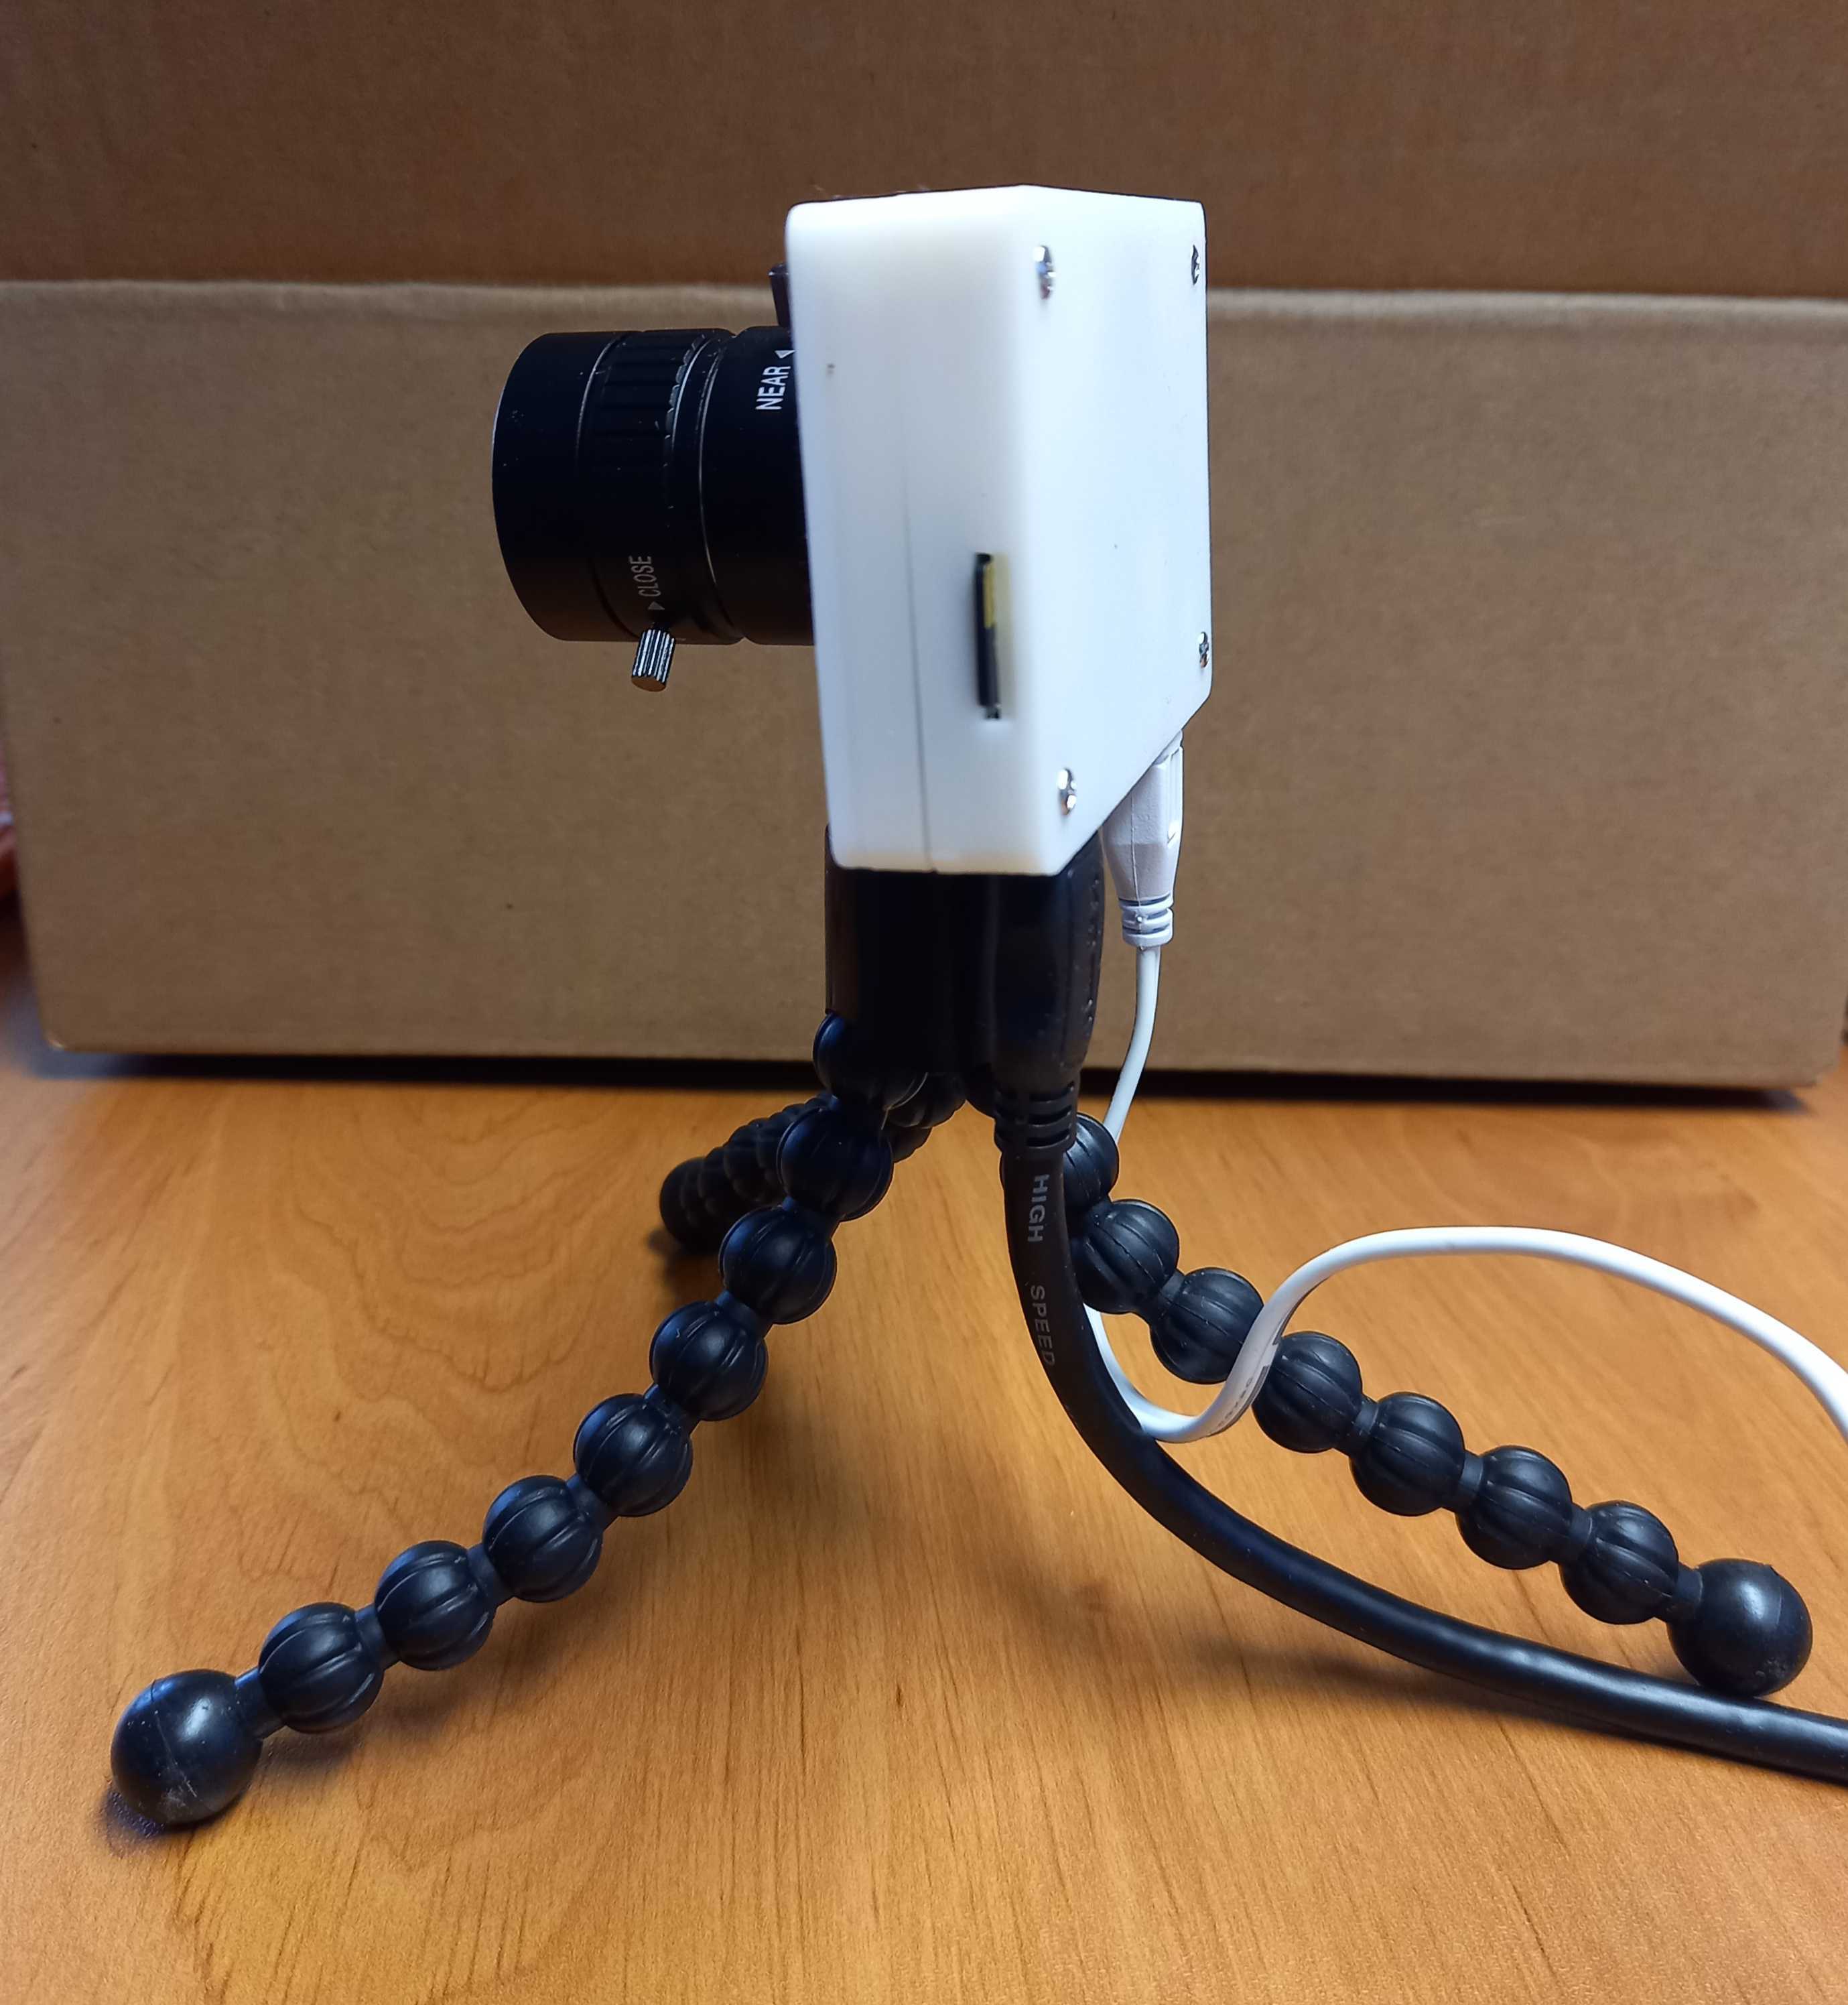
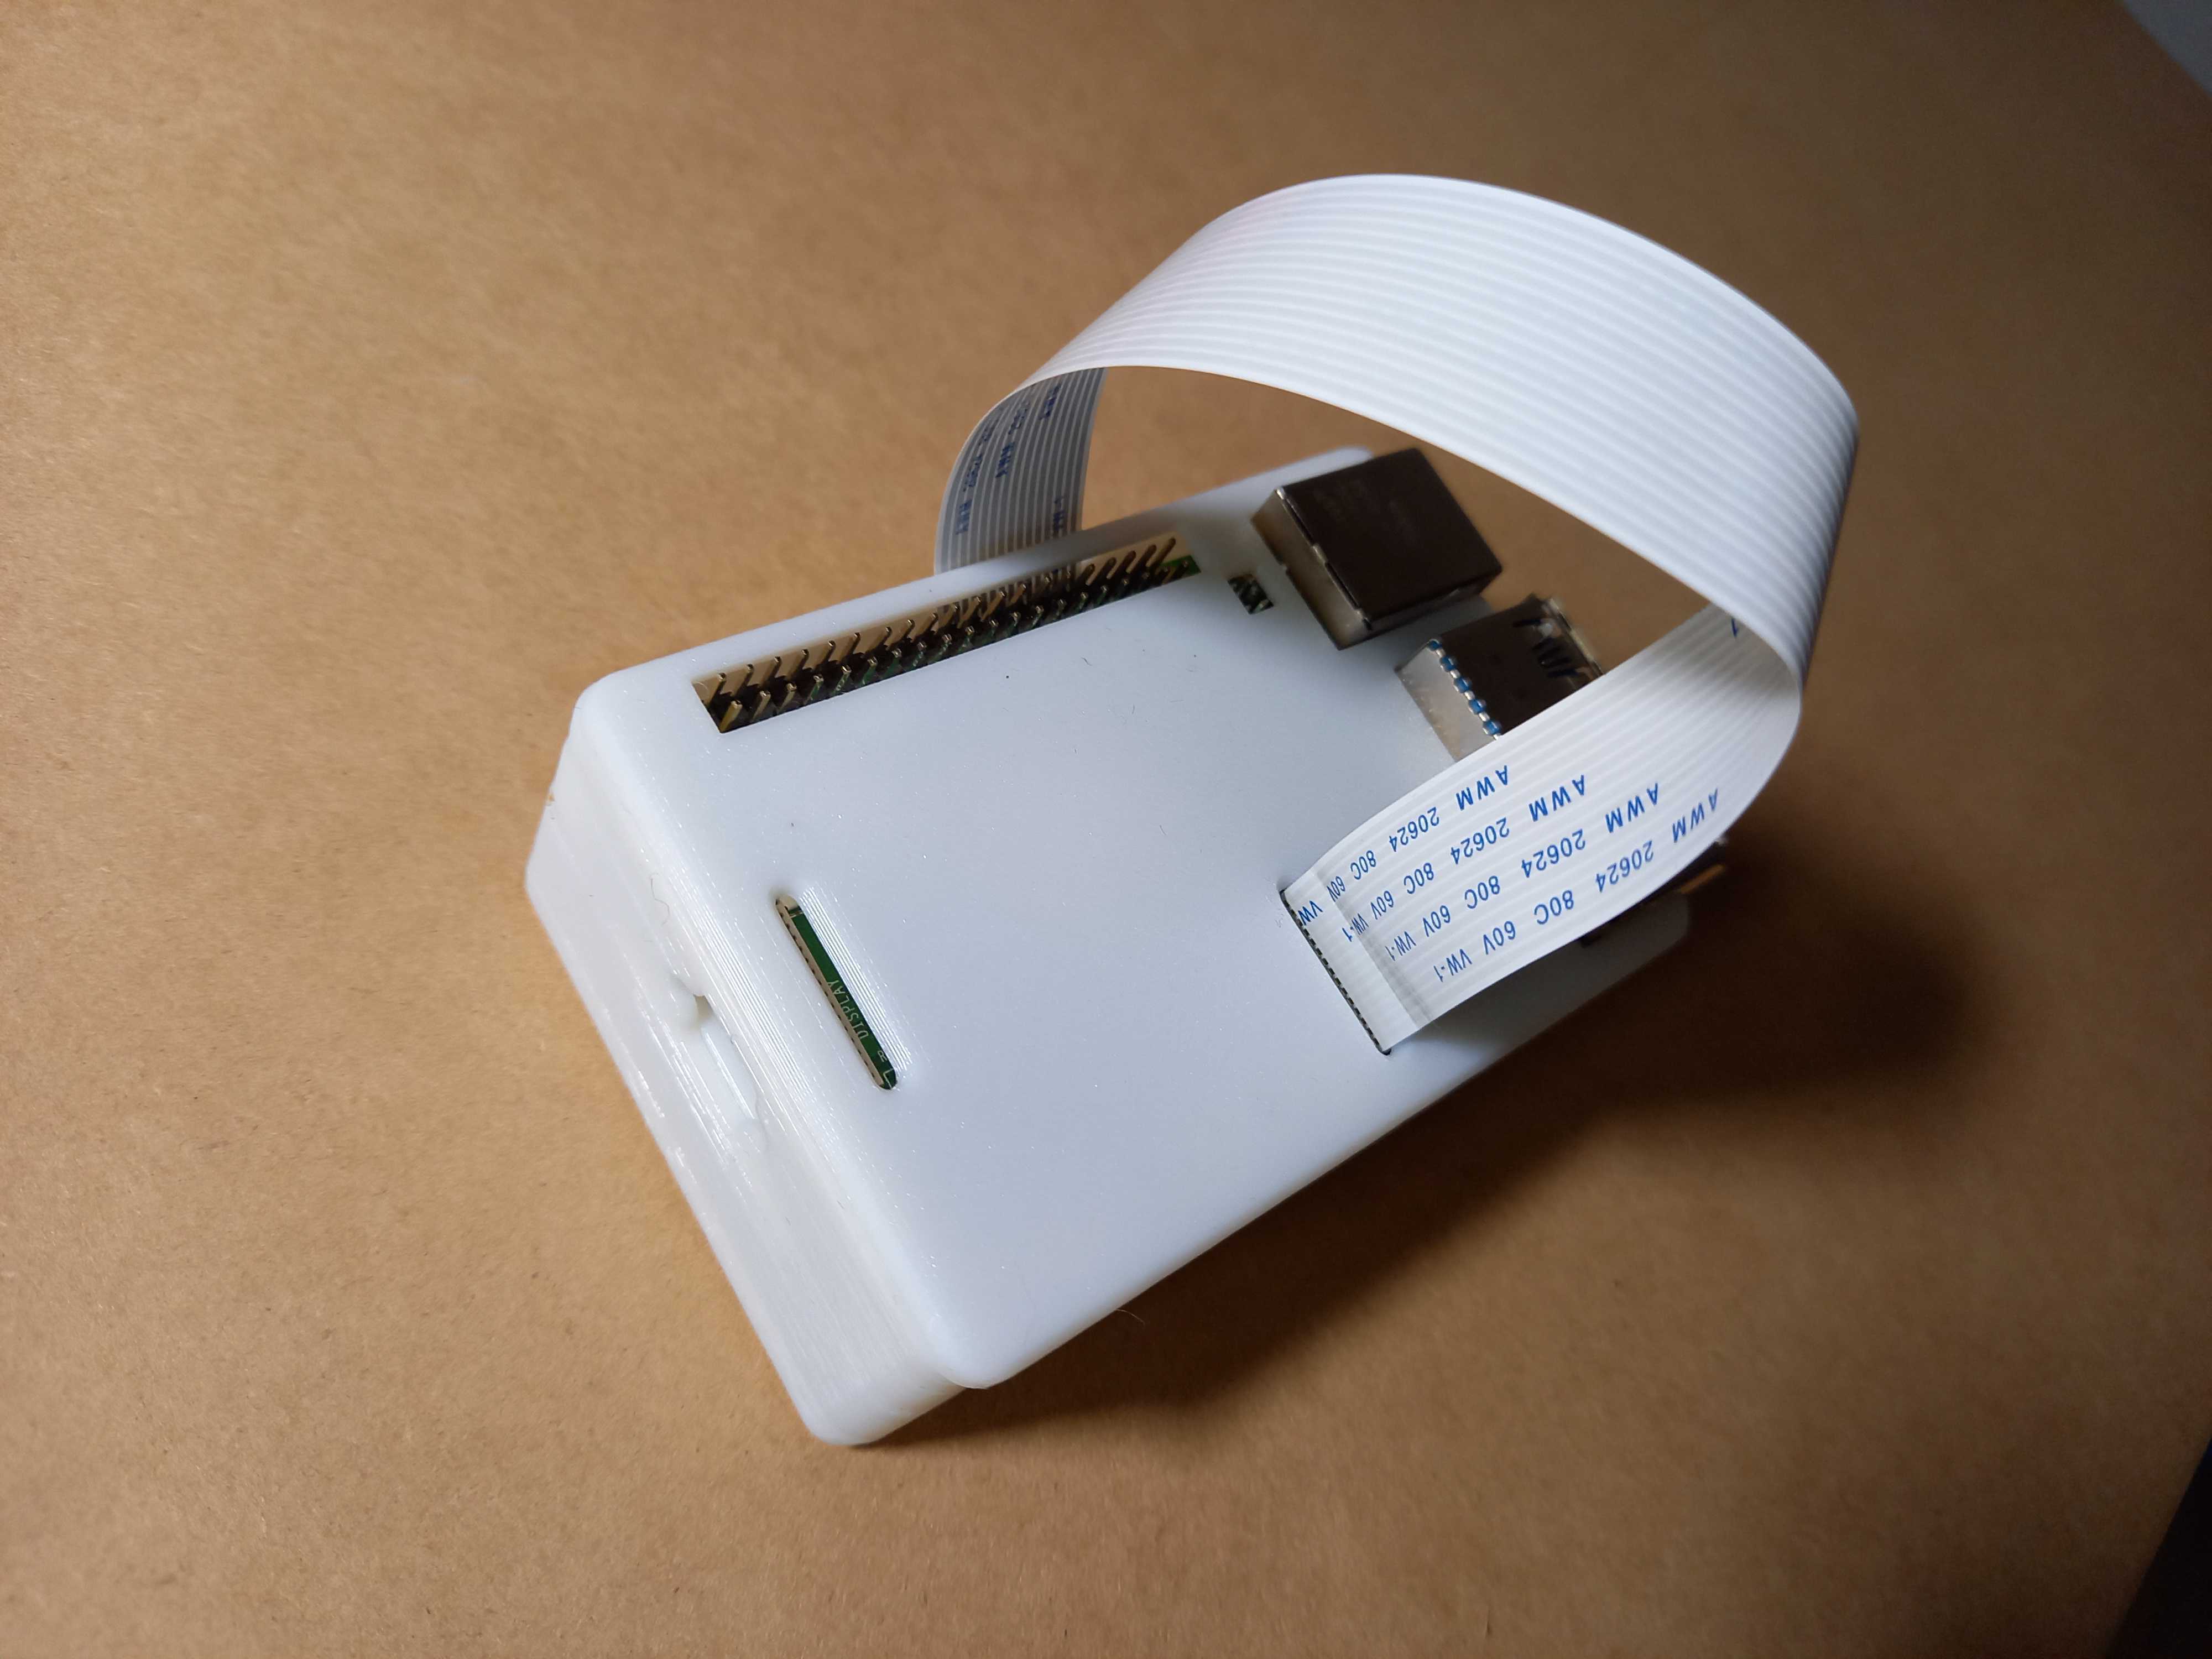
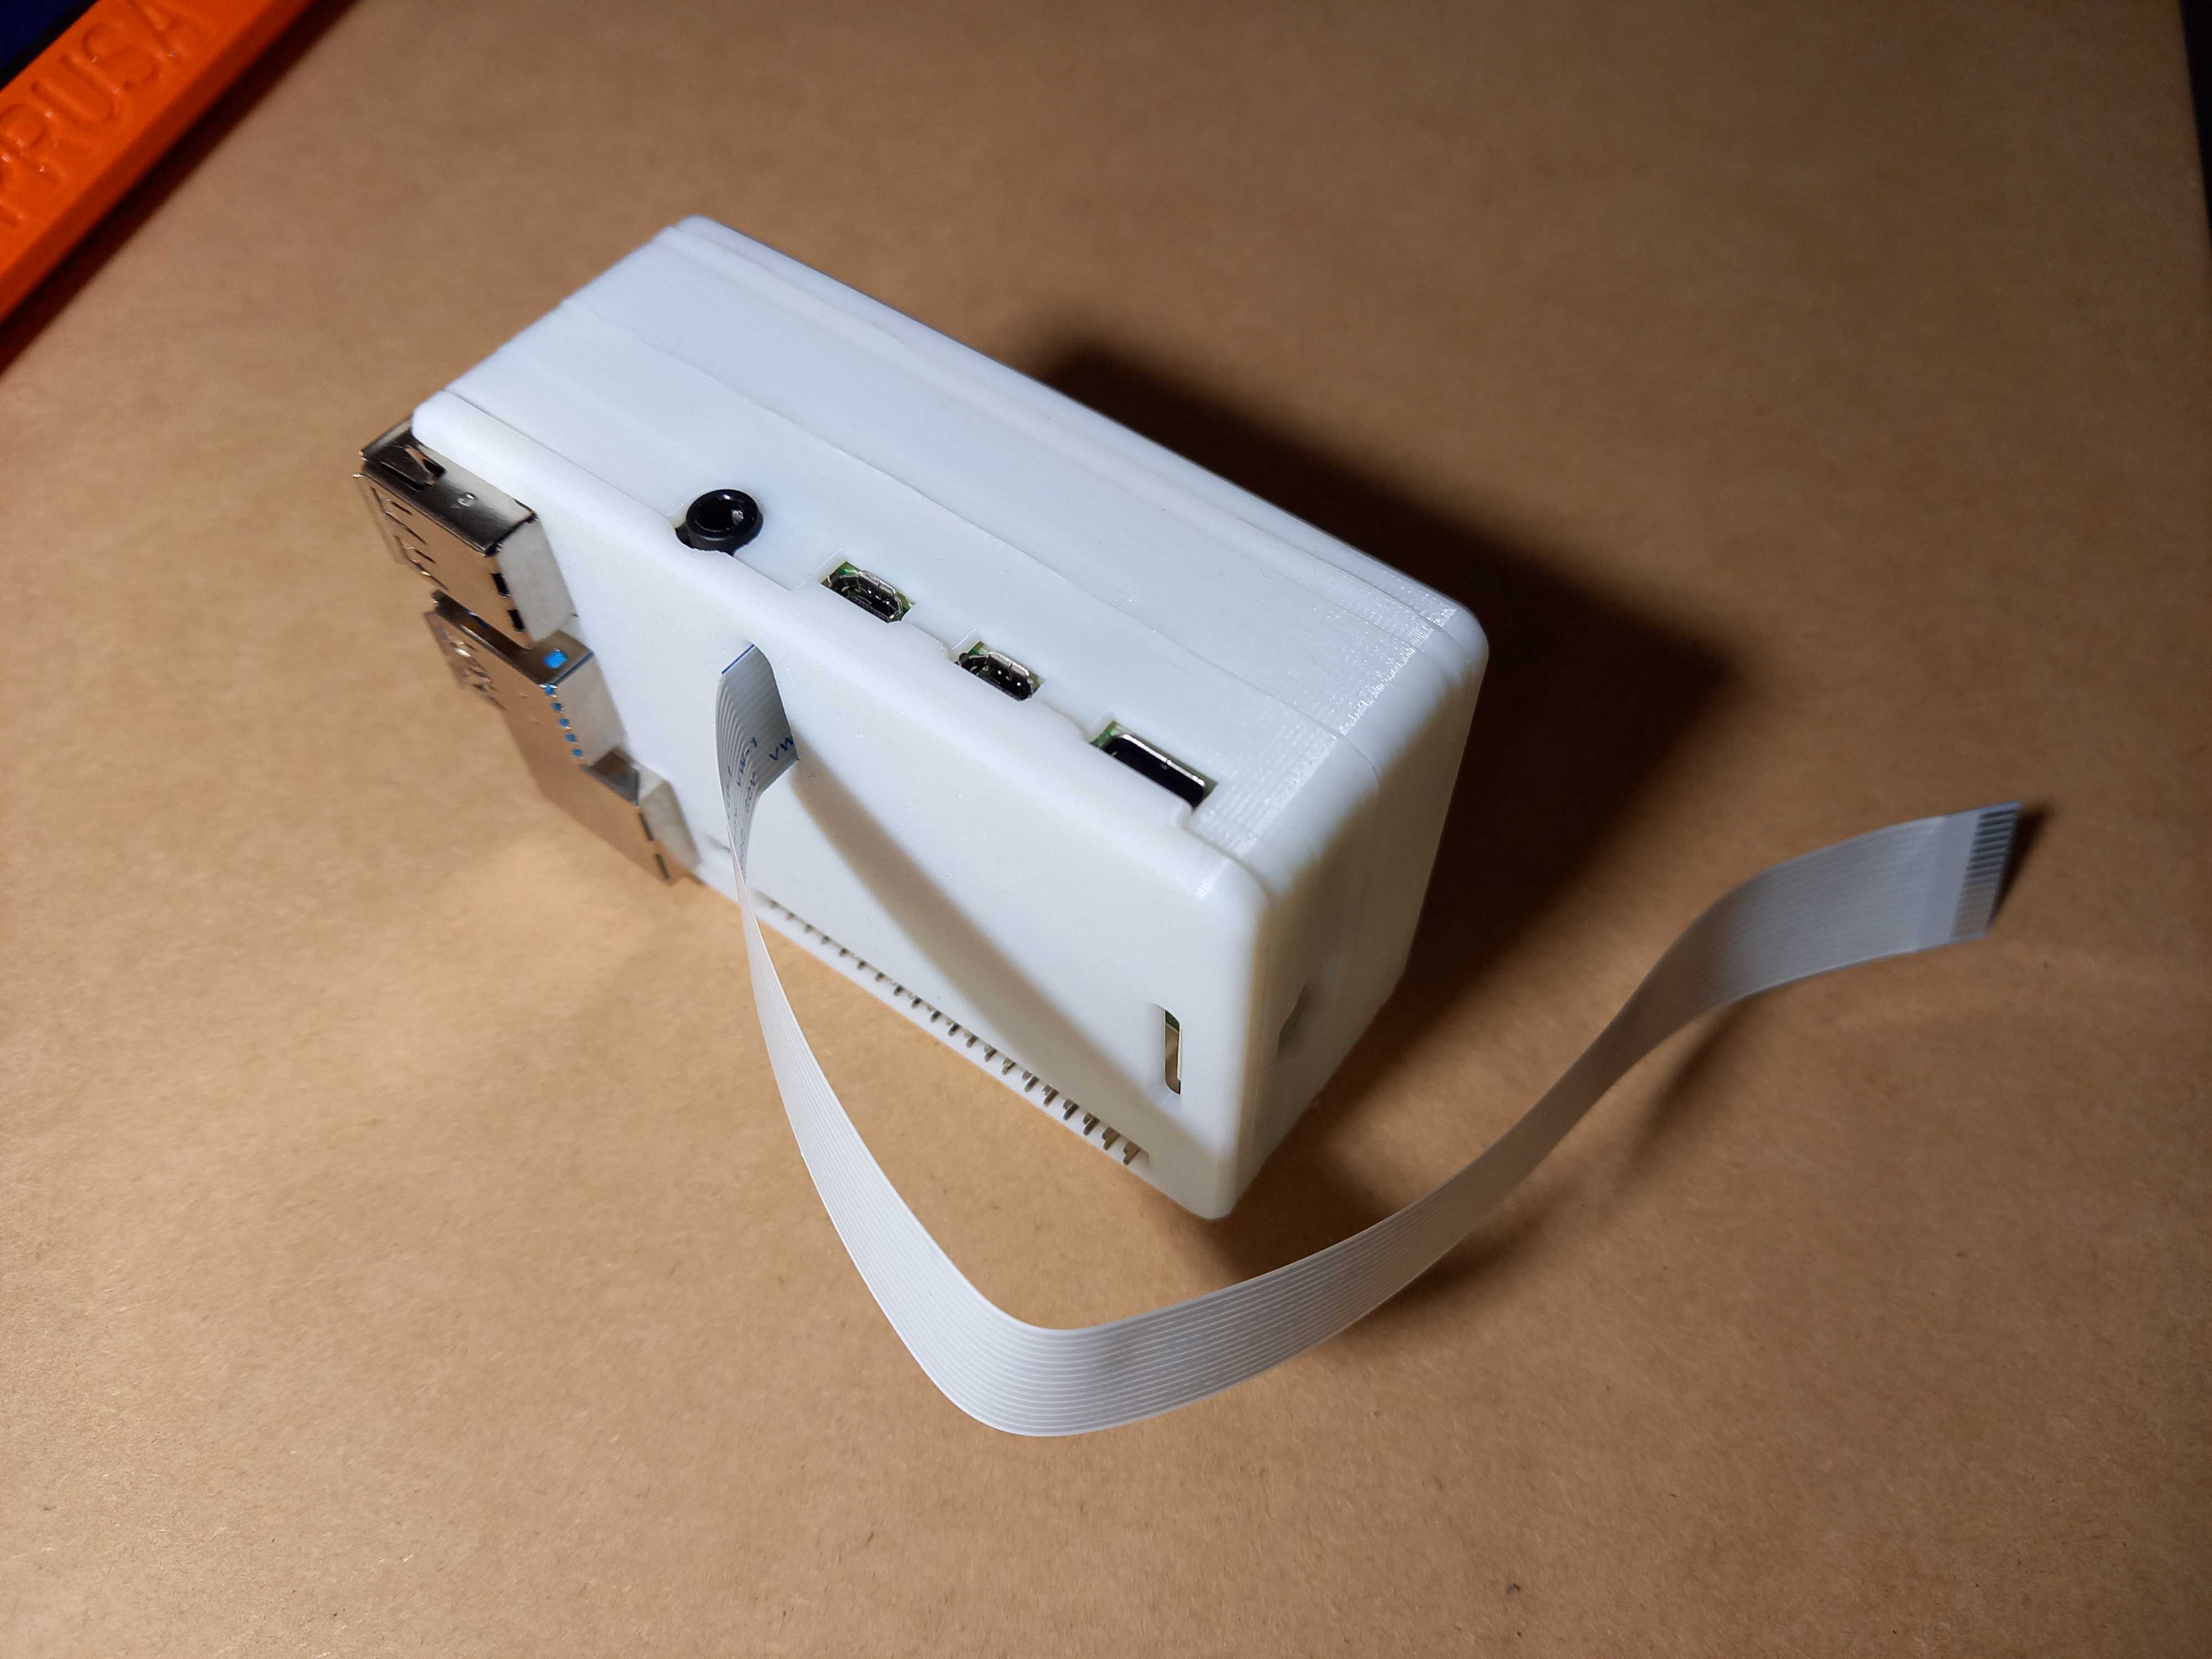
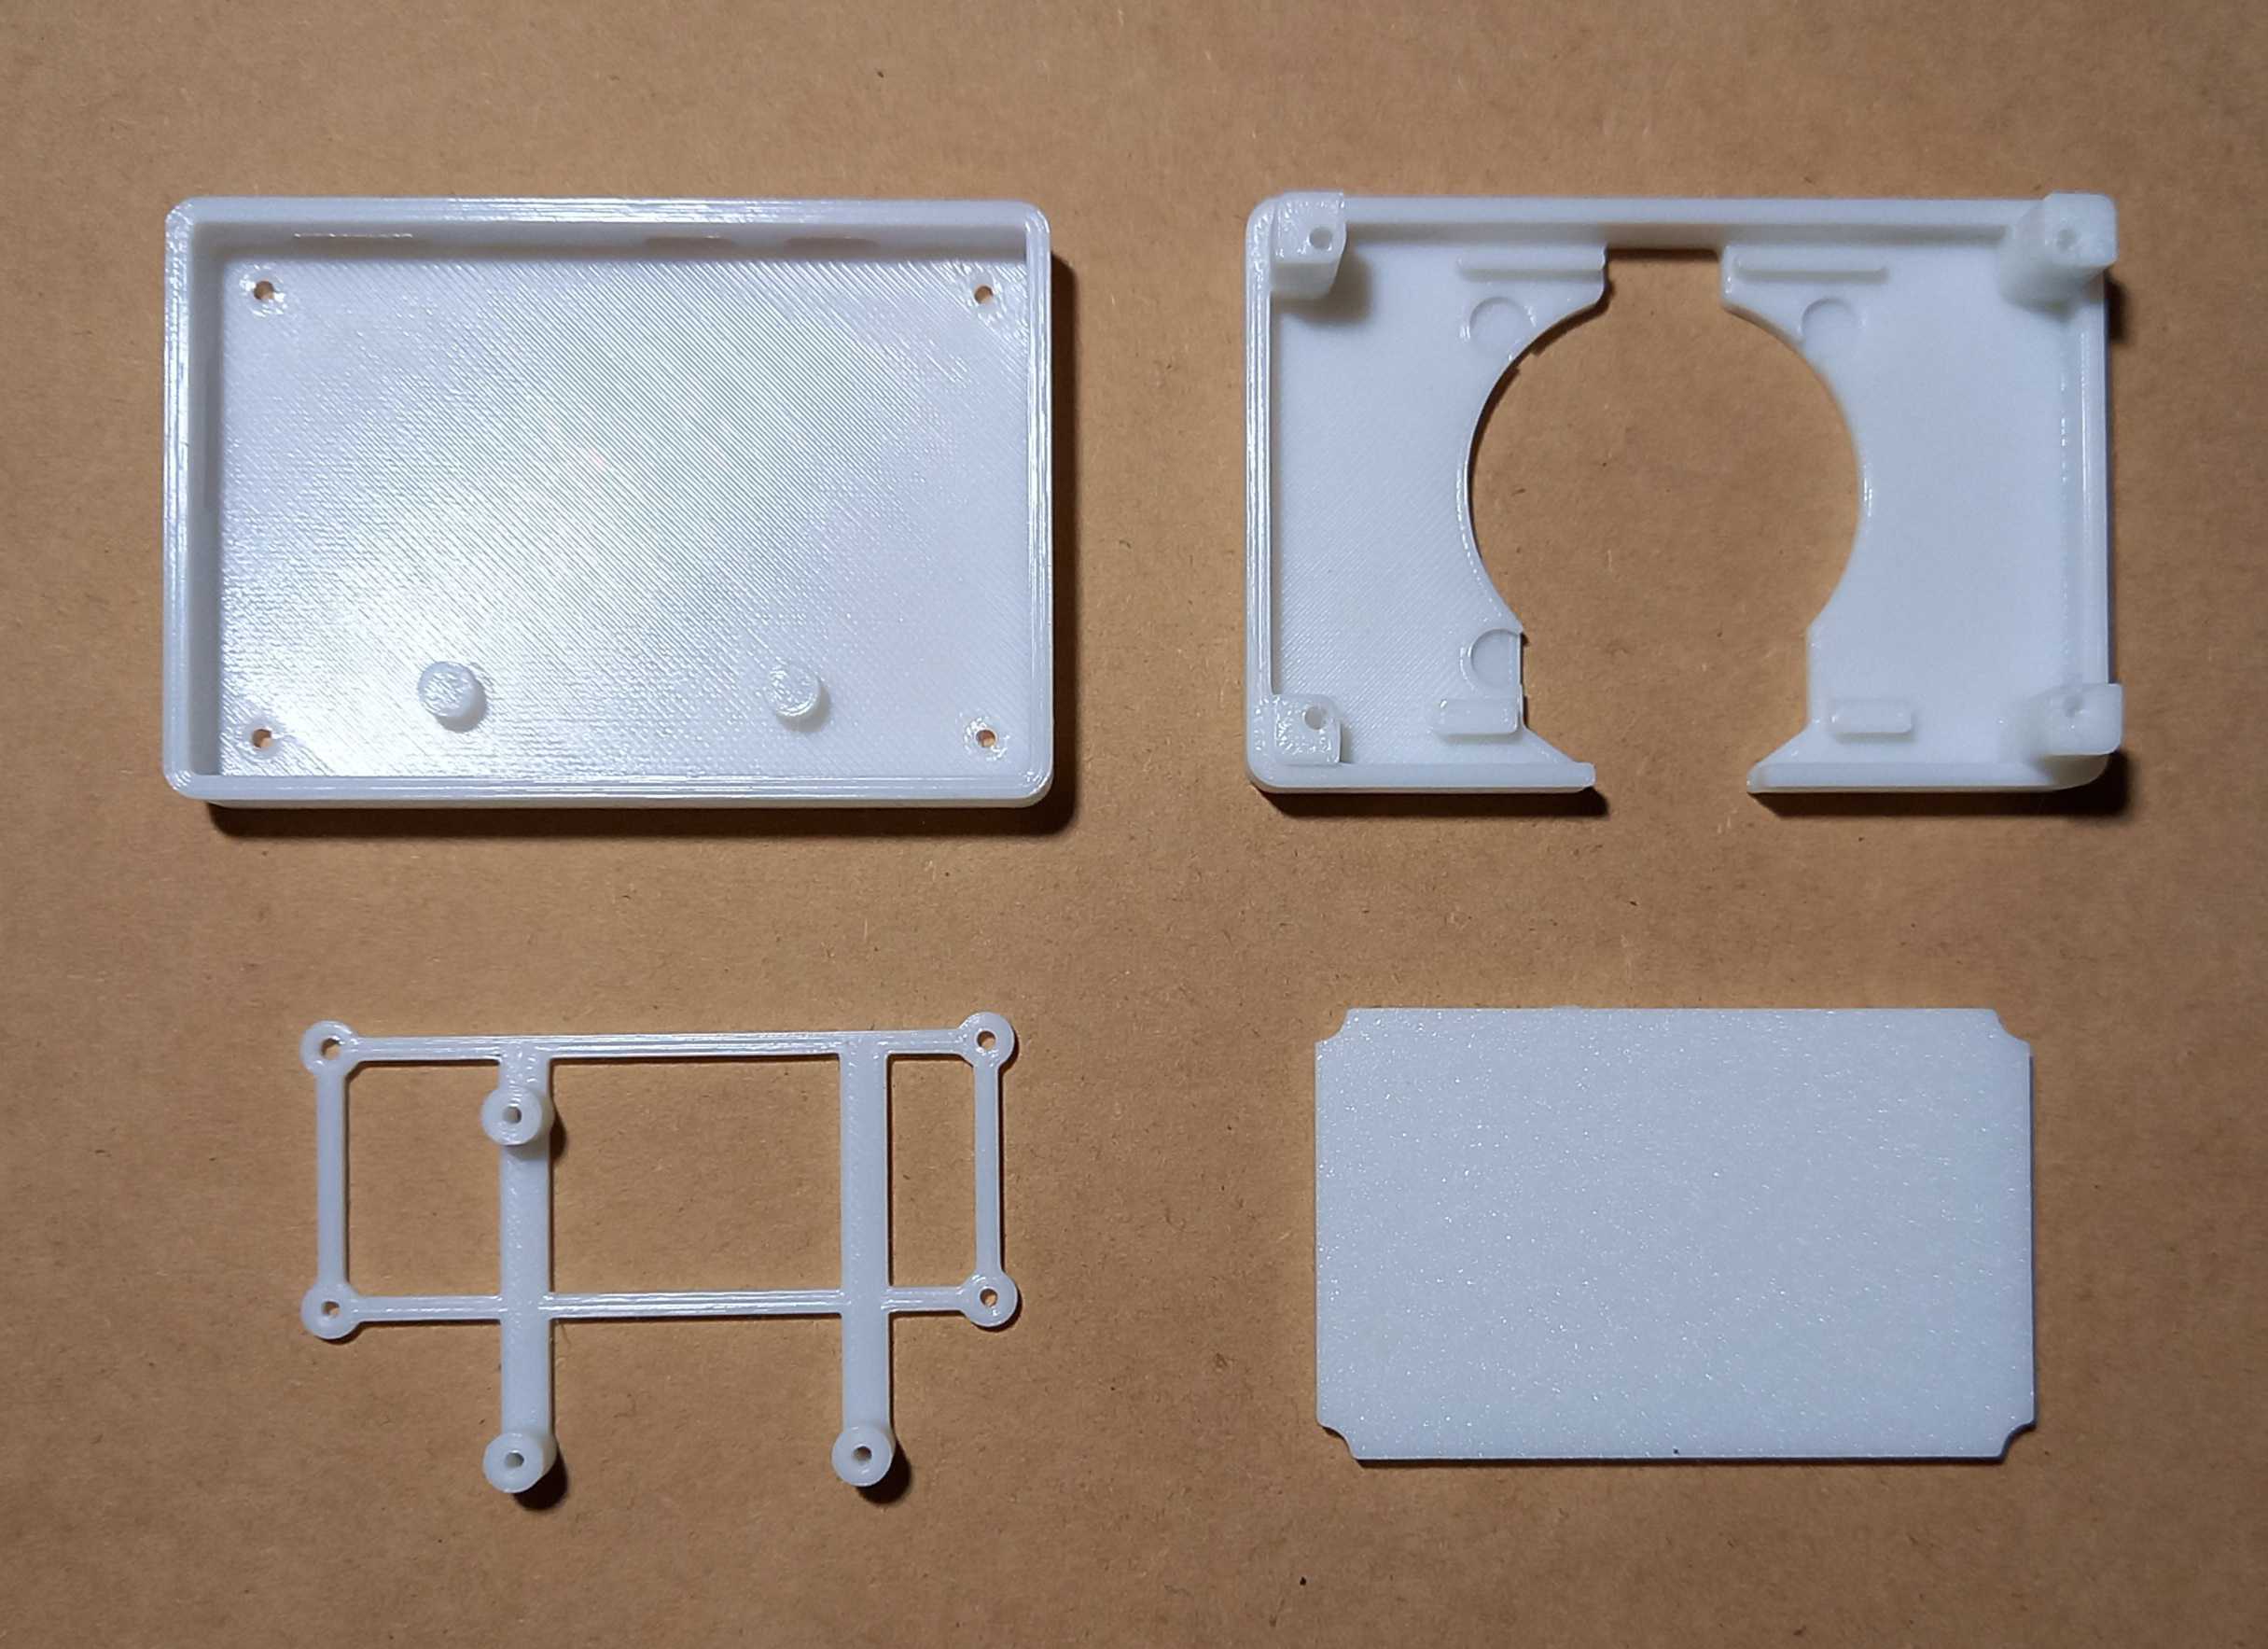
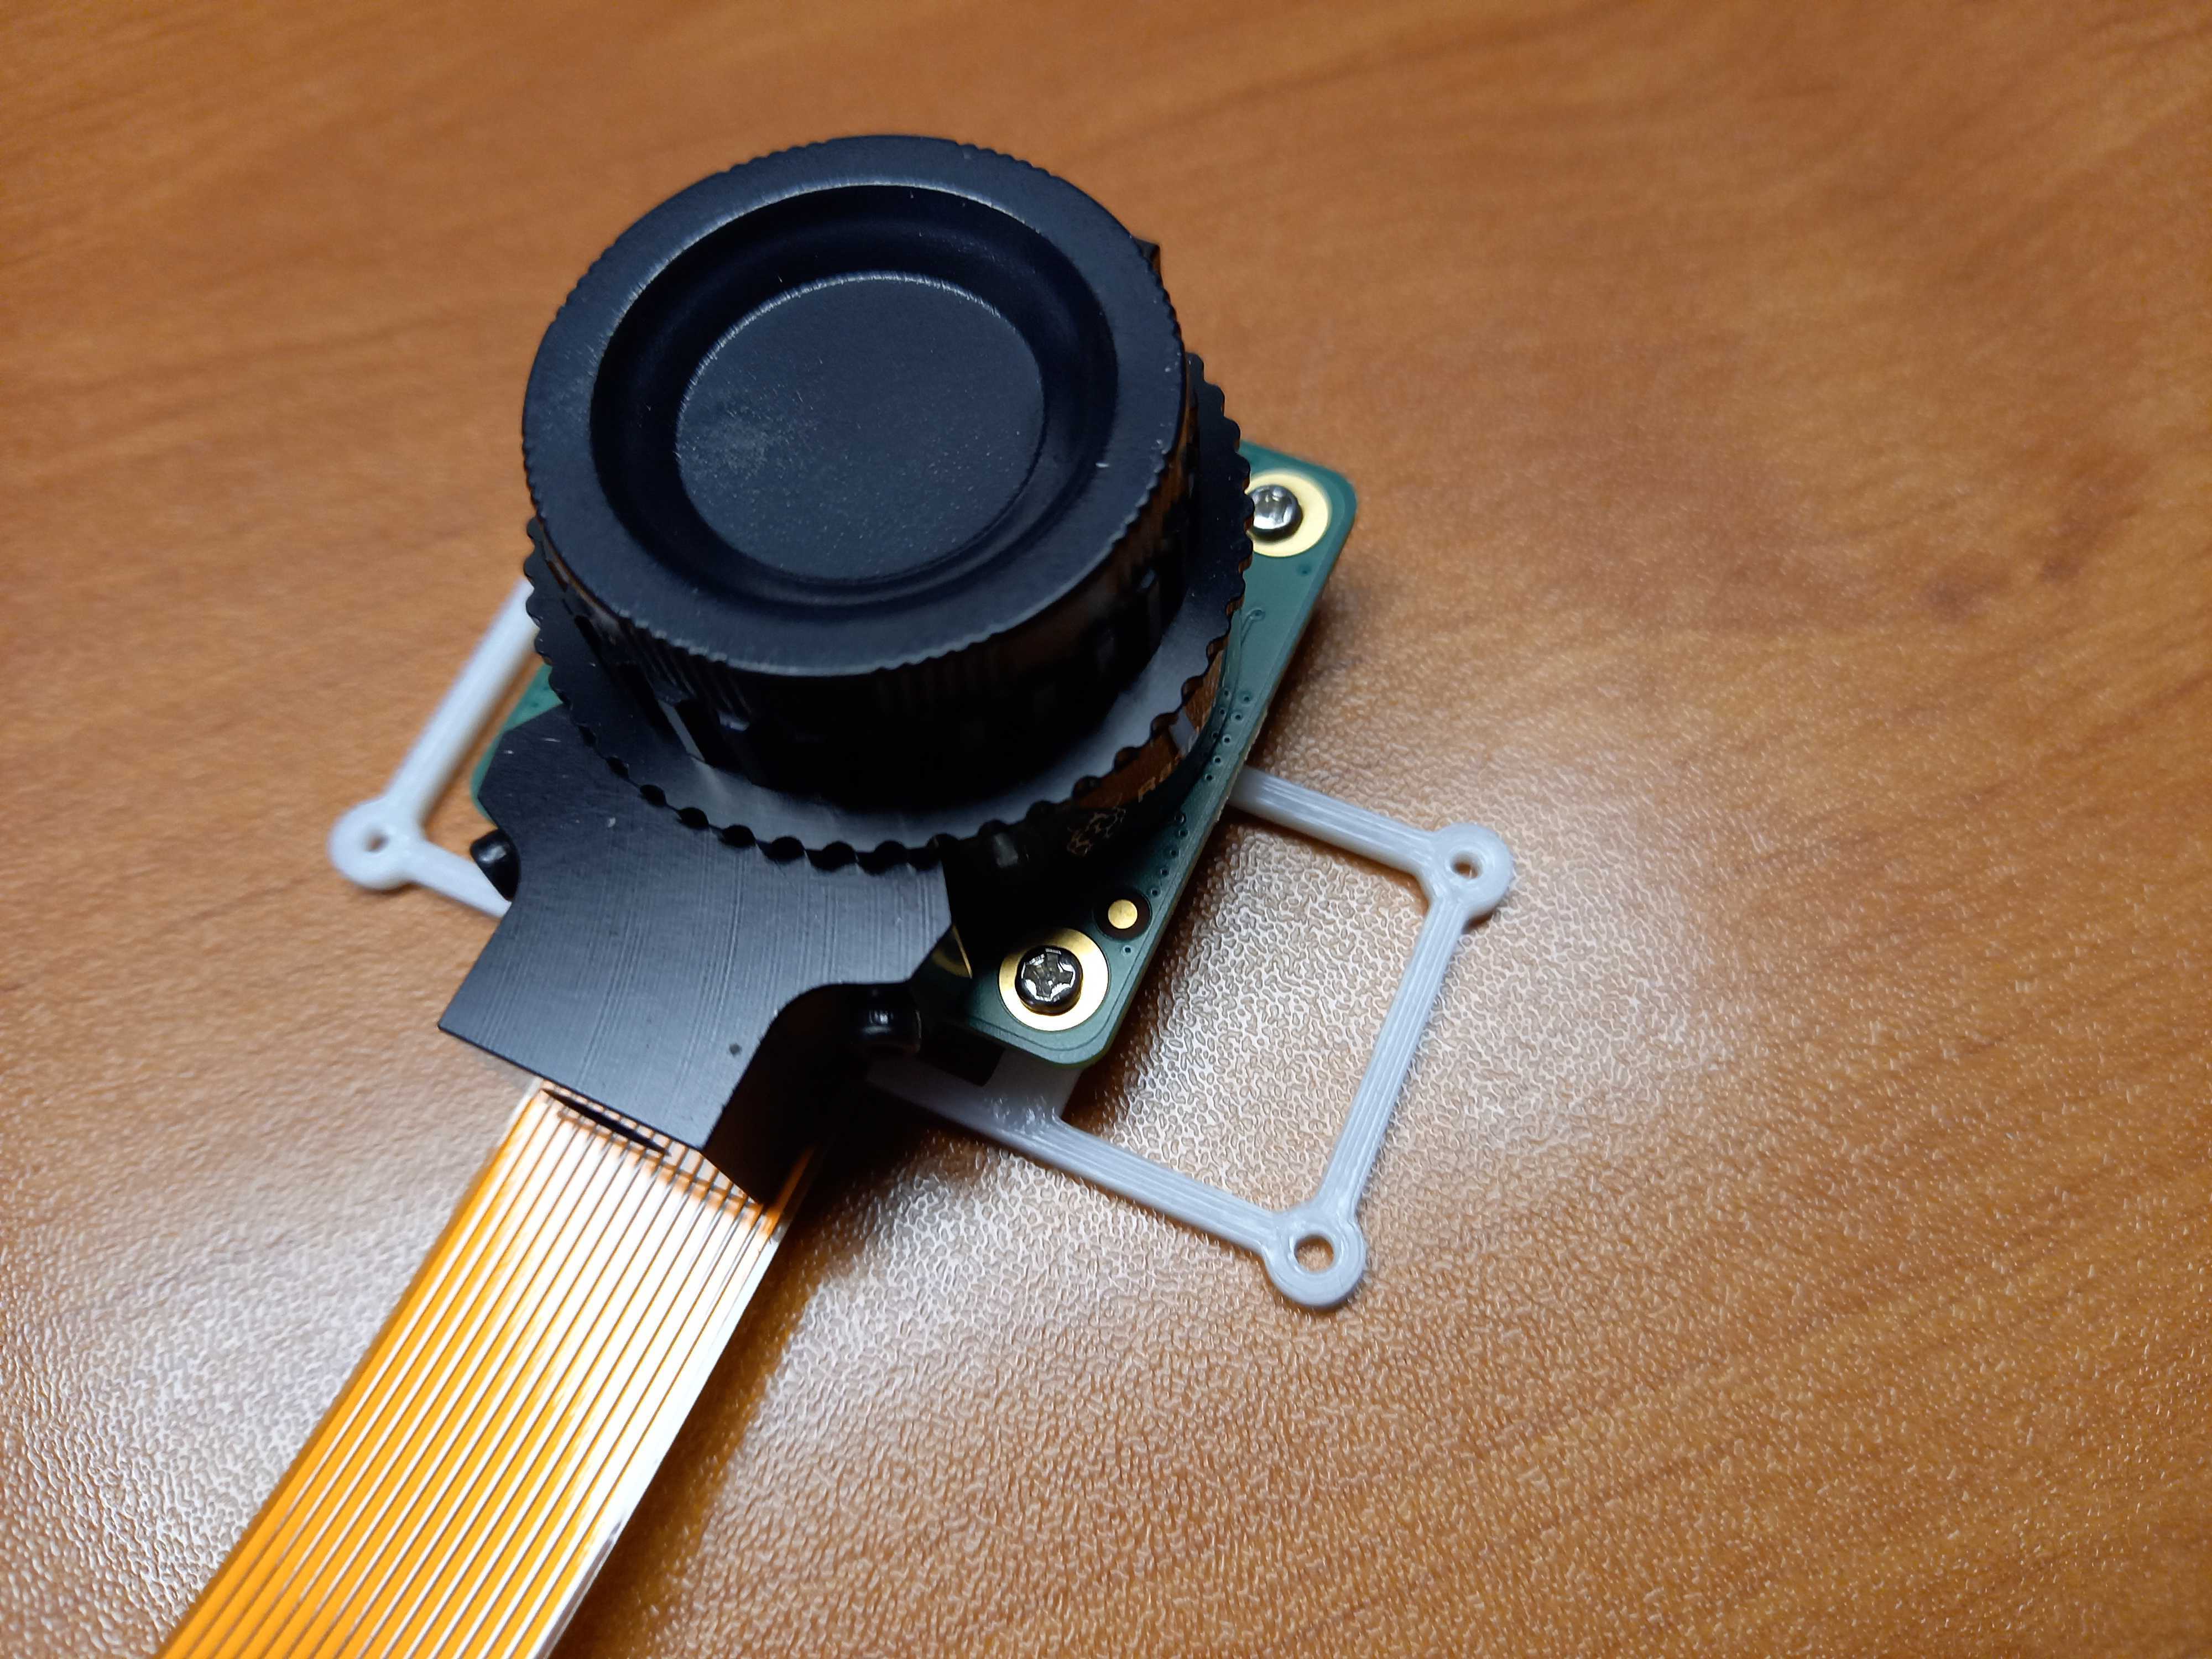
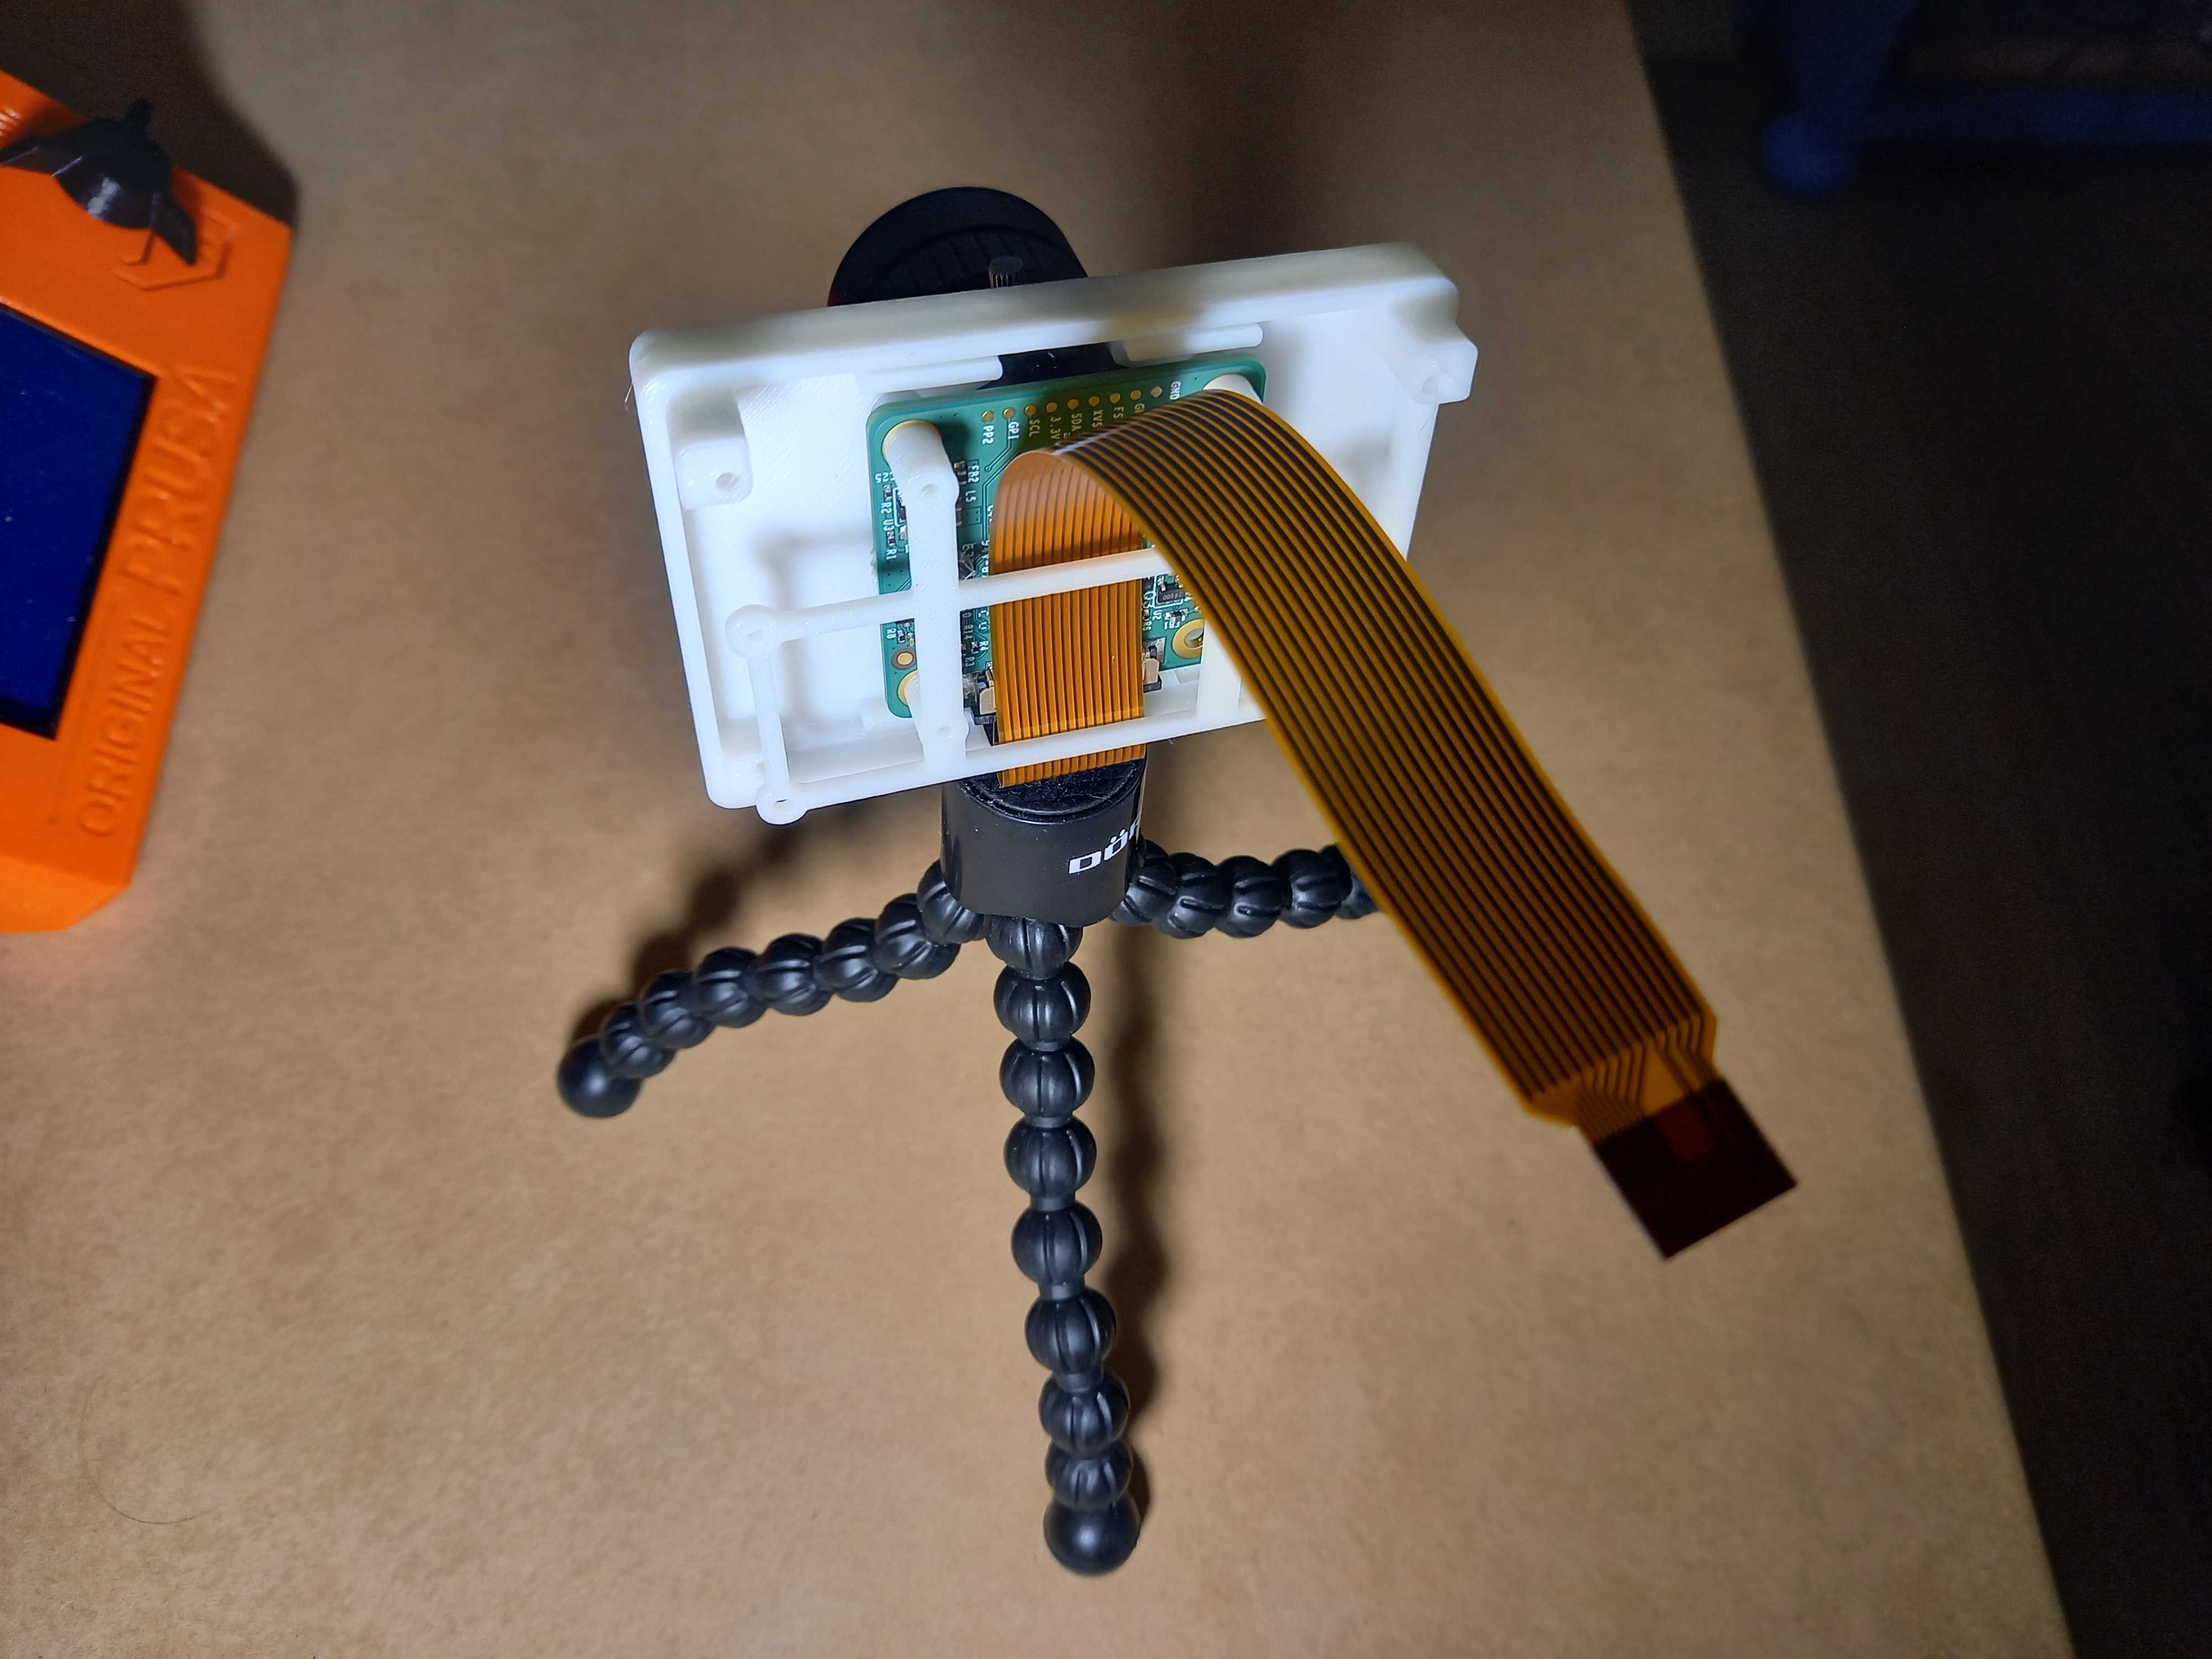
3D printed housing
Next step, let’s mount the camera in a housing. If you have a 3D printer available that’s an easy step, as there are designs available for both the full Raspberry Pi, as the Zero.
Raspberry Pi 4 + HQ Camera
Project on the Prusa printers site, with a step-by-step for the assembly on Adafruit:
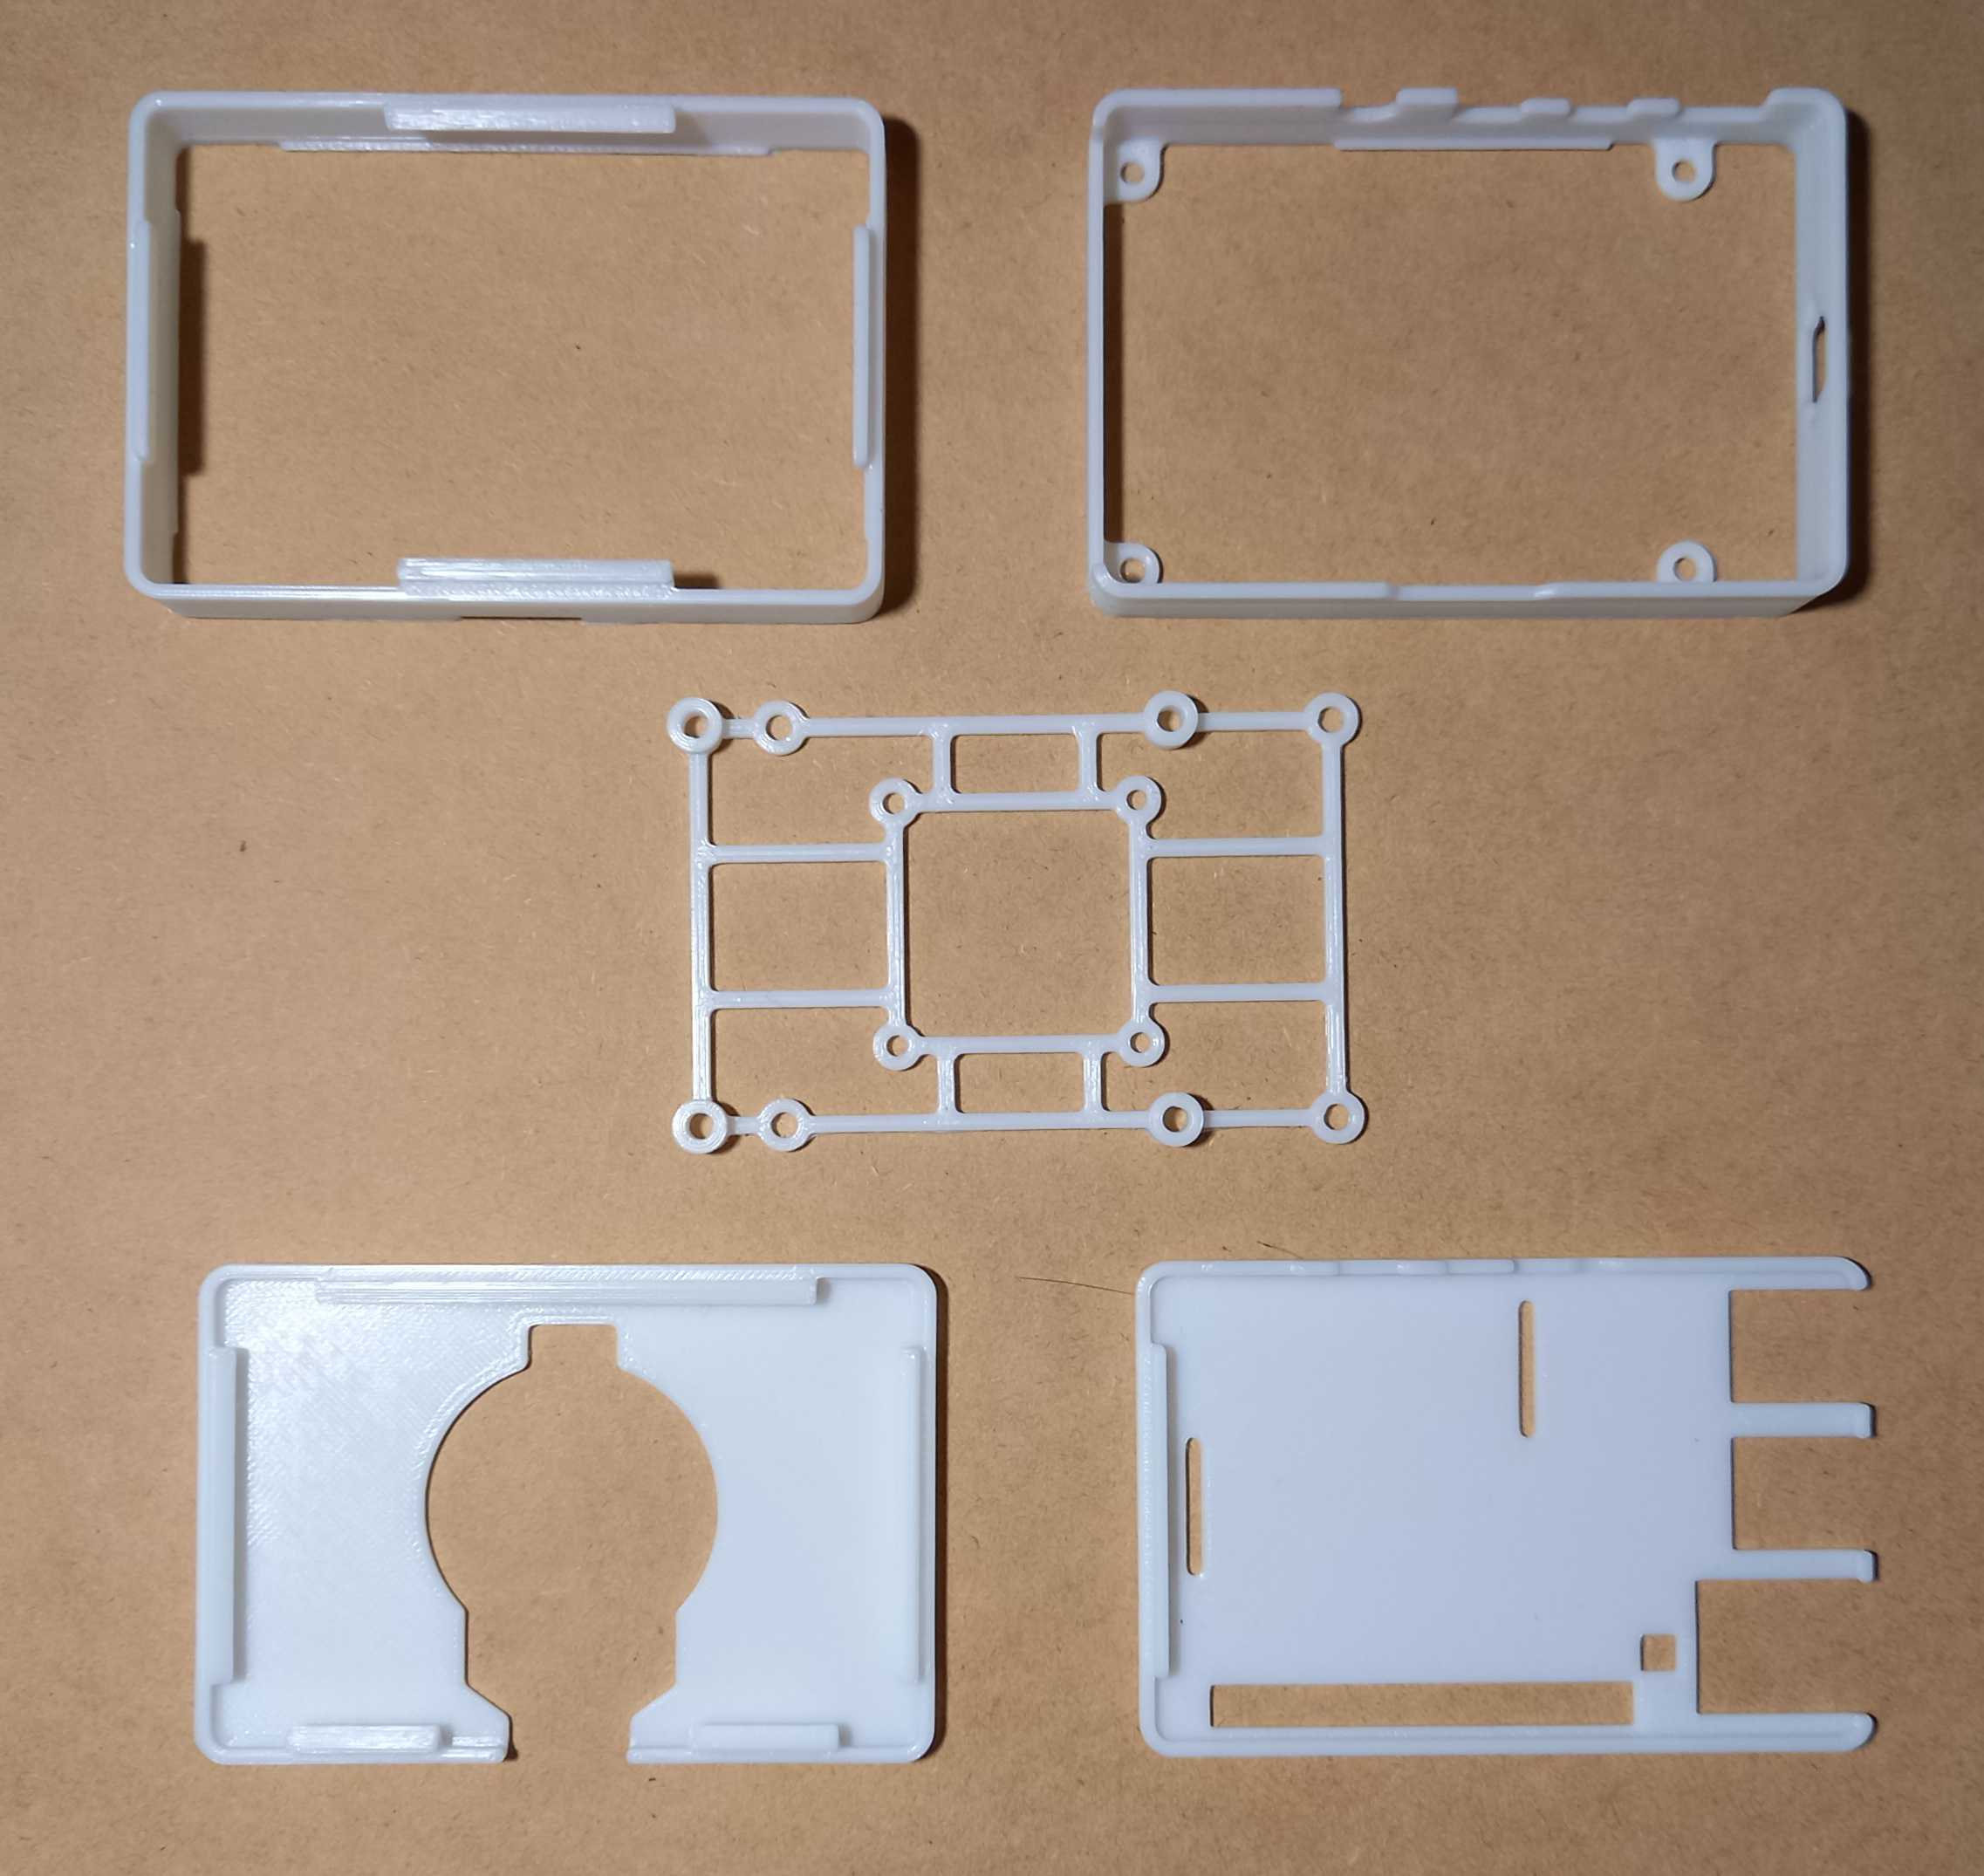
Raspberry Pi Zero + HQ Camera
A remix of the previous project is also available for a housing for the Zero:
- Print files
- Screws of 2M (camera and Pi) and 2.5M (close the housing)
Conclusion
The quality of the Raspberry Pi cameras is good enough for my use-cases. As you can see in the video above, movements with the camera aren’t supersmooth, but fixed views to show for instance an electronics project are perfect. I probably will still need to investigate in some better lightning as the LED panel above my desk also seems to generate some “noise”.
One of the hidden gems of having the ATEM Mini connected to my test computer and Raspberry Pi’s: at any time I can hit the REC button, and everything I do is recorded to the USB-C drive. So there is always a playback available if I want to repeat or document a specific part of the setup or test process.
Extra tip
Looking for a professional video editing solution? Blackmagicdesign doesn’t only build video hardware products in all price ranges, but has the wonderful DaVinci Resolve FOR FREE! This program combines editing, color correction, visual effects, motion graphics, and audio post production all in one software tool! There is a paid version with extra features but I didn’t miss a thing for the videos I need to create and am still only using a fraction of the possibilities I guess…